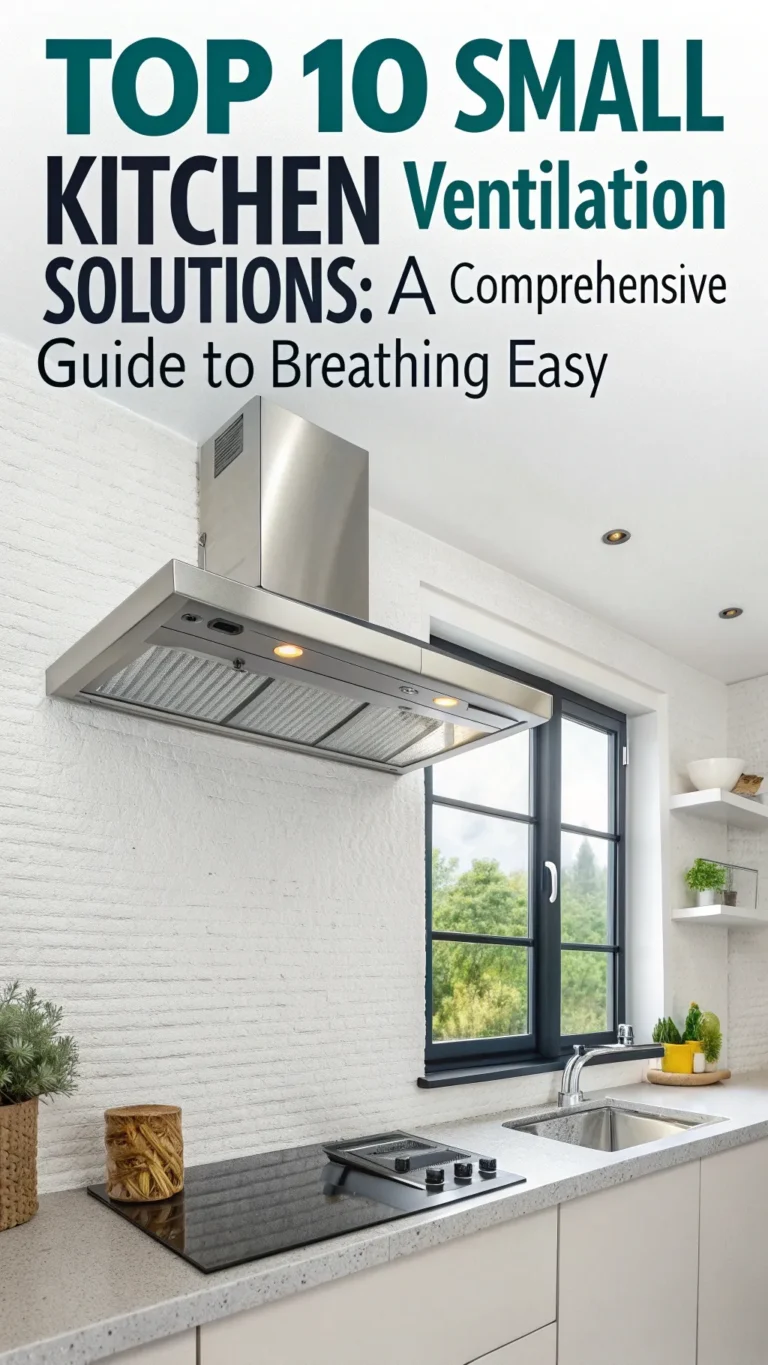
Small kitchens often feel cramped and cluttered. Countertops fill fast, cabinets overflow, and moving around becomes tricky. These spaces can feel outdated and uninspiring. Changing the whole kitchen seems expensive and time-consuming. Thankfully, you can improve your kitchen without a full remodel by doing simple DIY projects.
DIY offers budget-friendly ways to make your small kitchen easier to use and nicer to look at. With some creativity, tools, and materials, major changes happen without breaking the bank or calling contractors. This guide walks through 10 clever small kitchen DIY projects to add storage, boost organization, and update style.
Projects include improving cabinet space, adding smart storage on walls, refreshing surfaces, upgrading lighting, and quick hacks with big impact. Whether you rent, own a home, or just want to try your hand at DIY, these projects fit most skill levels and budgets. Dive in and find ideas to make your kitchen work better for you in 2025.
Section 1: Planning Your Small Kitchen DIY Journey
A good plan leads to success. Before picking tools or materials, pause and think through your small kitchen project.
Why DIY Your Small Kitchen?
DIY saves money. Professional remodels can cost thousands, while small projects cost under a few hundred dollars. You control the look and function yourself. Completing a project is satisfying and gives your kitchen a personal touch. Remember, these are upgrades—not a full remodel. Small projects can still have a big effect.
Expert Marissa Ross, a DIY interior designer, says, “Smart DIY can boost your space without the cost of remodeling.”
Assess Your Needs and Space
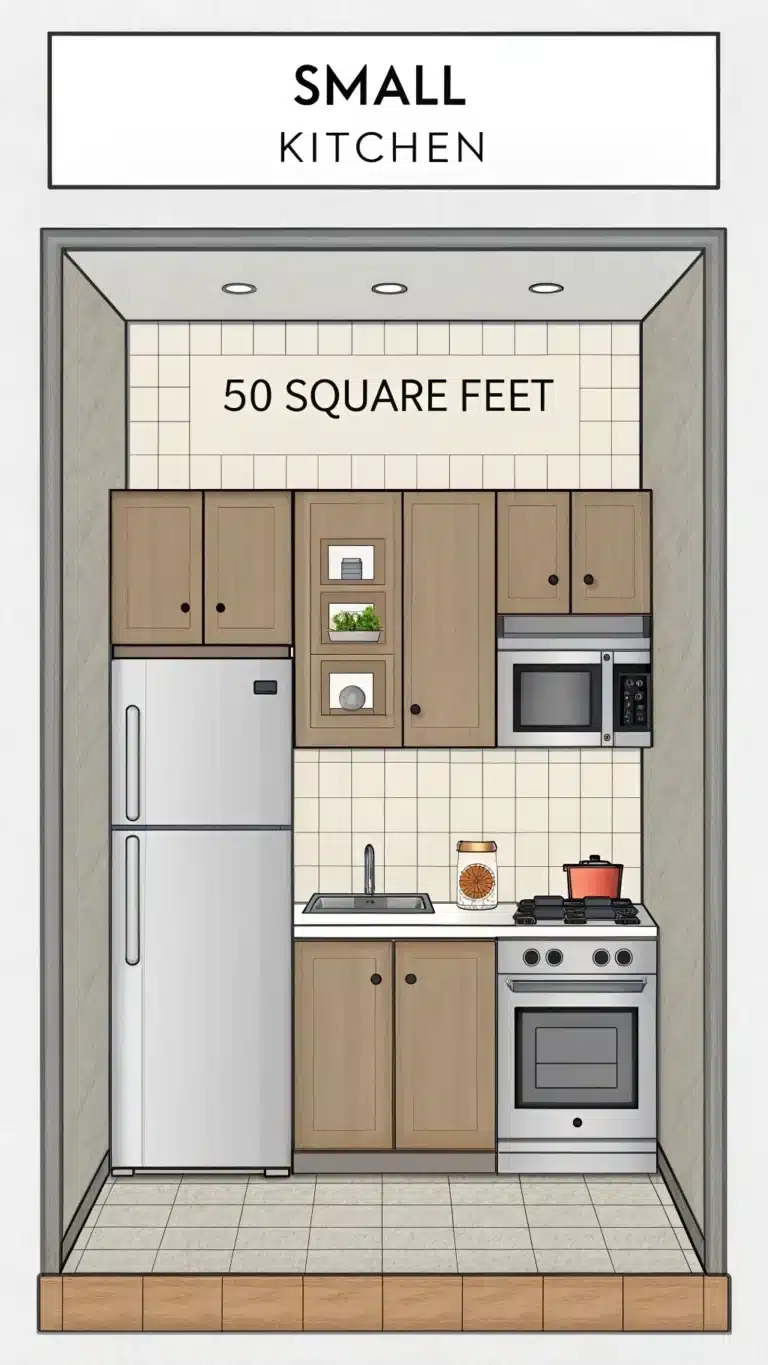
Start by noting the biggest kitchen problems. Lack of storage? Messy drawers? Poor work surfaces? Write down what bothers you the most. Next, measure counters, cabinet widths, wall space, and height. Accurate measurements avoid surprises.
Use a simple sketch or online tool for your layout. Think vertical. Walls and unused corners can hold storage or hooks. These tips come from recent 2025 small kitchen design studies showing vertical space use grows kitchen function by up to 40%.
Setting a Realistic Budget for Your Projects
Budget according to materials and tools you already own. Some projects cost $20; others may reach $150. Prioritize projects that fix pain points first. Save money by choosing quality materials only when they impact kitchen look or safety.
Access our step-by-step guide for budgeting kitchen upgrades here.
Safety First! Essential DIY Kitchen Precautions
Work safely with tools, especially power tools. Wear safety glasses and gloves. Avoid water or electrical issues without expert help. If unsure with plumbing or wires, hire a professional.
The Home Safety Council advises never rushing, keeping work areas clean, and cutting power when working on electrical fixtures. Learn more at This Old House’s safety page here.
Gathering Your Tools and Materials
Have basics ready: measuring tape, drill, screwdriver set, level, utility knife, and safety gear. For specific projects, you’ll add saws, paintbrushes, or specialty kits. Check for sales or reclaimed materials for savings.
An infographic shows essential tools for your kitchen DIY here.
Section 2: Unlocking Cabinet & Drawer Potential
Small kitchens often struggle most with storage. These three DIY projects open up hidden space inside cabinets and drawers.
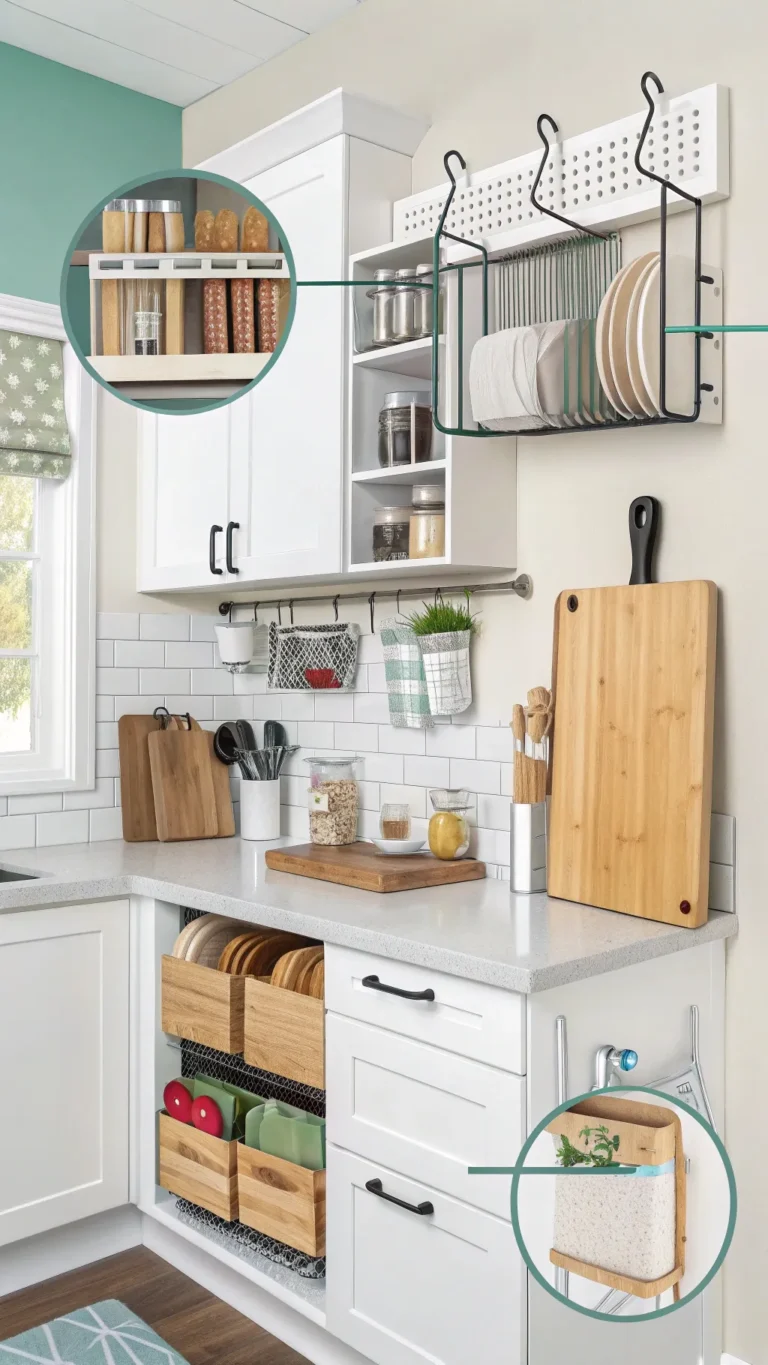
Project 1: Install Pull-Out Shelves or Baskets
Pull-out shelves bring deep cabinets into reach. Avoid digging or losing glasses or pots in the back. Install kits designed for cabinet size.
Materials: Pull-out shelf kit, screws, drill, level, measuring tape.
Step 1: Measure your cabinet width and depth. Step 2: Buy a kit matching size. Step 3: Install metal slides inside cabinet walls. Step 4: Attach shelves or baskets on slides.
A study by Houzz states 65% of small kitchen users find pull-out shelves “very helpful.” Check your cabinet depth twice before ordering.
Project 2: DIY Drawer Dividers for Ultimate Organization
Messy drawers slow cooking and annoy. Dividers separate utensils, wraps, and spices.
Materials: Thin wood strips or foam core, wood glue or nails, saw, measuring tape.
Measure drawer interior. Cut strips sized for your items. Arrange dividers in a grid or rows. Glue or nail pieces together. Set divider in drawer to keep things neat.
You can buy adjustable dividers but DIY allows exact sizes. See our review on top kitchen organization inserts here.
Designer Lisa Carter says, “Organized drawers save time and protect your tools.”
Project 3: Vertical Dividers for Trays, Boards, and Baking Sheets
Flat items are hardest to store. Vertical dividers keep boards and trays easy to grab.
Materials: Thin plywood or wood strips, screw/glue, saw.
Measure shelf height. Cut divider pieces 1-2 inches wide. Attach vertically inside cabinets with glue or screws.
Place dividers above or below shelves for best fit. This method keeps items upright without sliding or tipping over.
Section 3: Utilizing Wall & Vertical Space
Walls often stay empty but offer prime storage spots. These projects show how to use walls smartly.
Project 4: Install a Magnetic Knife Strip
Clearing drawer space is easy with this simple strip. It holds sharp knives safely and within reach.
Materials: Magnetic strip kit, drill, screws, level, stud finder or wall anchors.
Pick a spot away from water and stove heat. Attach strip to studs or use anchors for drywall. Press knives onto the strip – strong magnets hold knives securely.
The American Kitchen Association says magnetic strips reduce drawer clutter by 25%.
Project 5: Create a DIY Pegboard Organizer
Pegboards store pots, pans, utensils, or decor. Renters like this because pegboards use removable anchors or small screws in unused wall sections.
Materials: Pegboard, spacers, drill, screws, paint (optional), peg hooks.
Cut pegboard to size. Paint if desired. Use spacers behind to create space for hooks. Secure pegboard with screws. Hang hooks and baskets tailored to your kitchen tools.
Before hanging items, sketch the layout on paper. Pegboard hooks come in many shapes for different needs.
Learn pegboard installation safety and tips here.
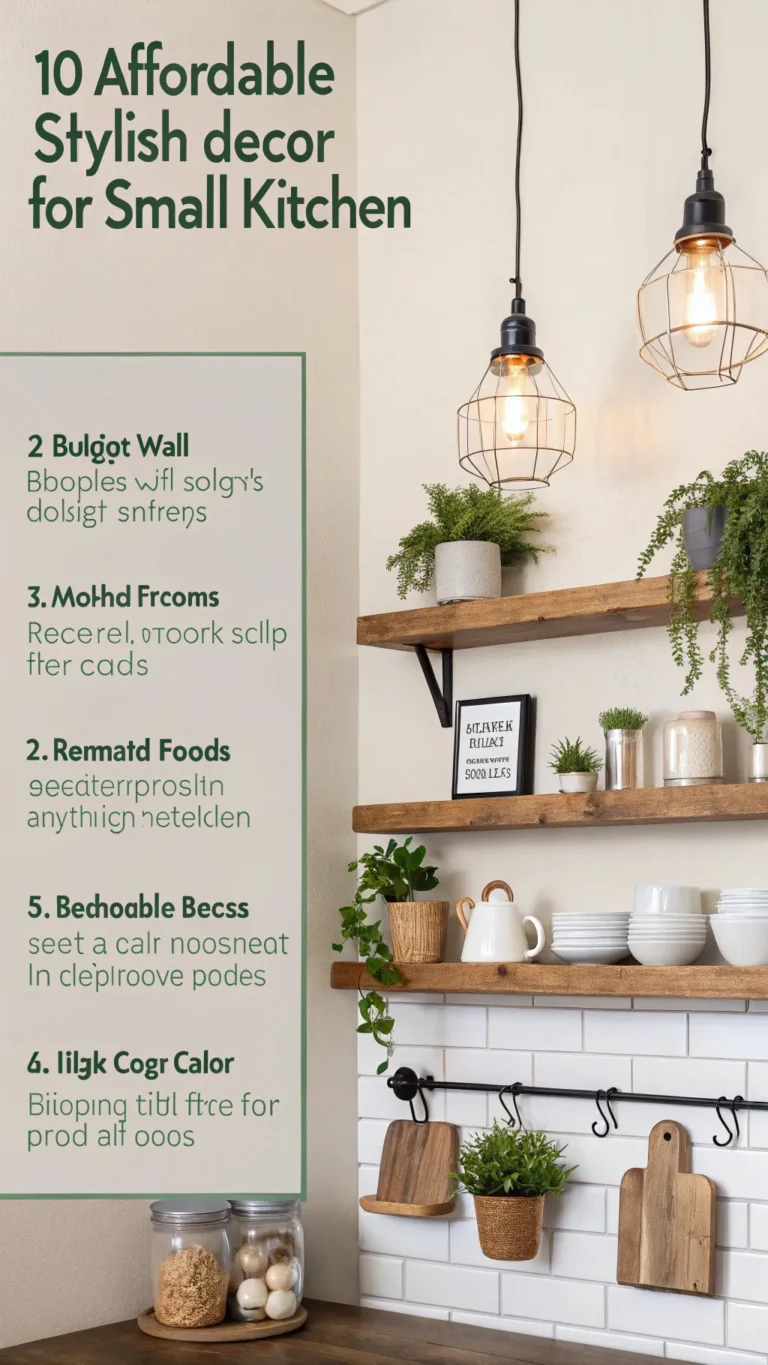
Project 6: Add Floating Shelves for Storage & Display
Floating shelves provide open storage and brighten tight spaces visually.
Materials: Floating shelf kit or wood planks, brackets, drill, level, screws, stud finder.
Locate studs to support weight. Follow kit instructions or mount sturdy brackets. Place cookbooks, plants, or dishware for both function and decor.
Avoid overloading shelves to prevent damage. Research shows floating shelves add visual interest and perceived space in kitchens by 20%.
Section 4: Budget-Friendly Surface & Fixture Updates
Surfaces shape how the kitchen feels. New countertops and backsplashes change looks without full renovation.
Project 7: Resurface or Cover Your Countertops
Cost-cheap kits let you paint laminate counters. Contact paper offers another peel-and-stick method. Both disguise worn surfaces.
Materials: Countertop paint kit or contact paper, cleaning supplies, sandpaper, primer, rollers/squeegee.
Clean surface well. Sand lightly to roughen. Apply primer if needed. Paint or apply contact paper carefully. Seal paint with clear coat.
Surface prep improves longevity and finish quality. Try this method on a test piece first to learn technique.
DIYNetwork says budget resurfacing saves up to 80% compared to replacement.
Project 8: Install a Peel-and-Stick Backsplash
Peel-and-stick tiles enhance kitchens fast. Perfect for renters wanting style without damage.
Materials: Peel-and-stick tiles, utility knife, ruler, cleaning supplies, level.
Clean wall thoroughly. Measure and plan tile layout. Cut tiles with a utility knife. Peel backing, apply carefully. Press firmly and trim edges.
Begin in an inconspicuous corner. Check alignment with a level frequently. Some peels come with adhesive strong enough to last years if walls stay dry.
Read reviews of top peel-and-stick backsplashes here.
Section 5: Enhancing Light & Accessibility
Better lighting changes how small kitchens feel and function. Fixtures also upgrade style.
Project 9: Add DIY Under-Cabinet Lighting
Under-cabinet lights brighten work surfaces and open space visually. LEDs use less power and stay cool.
Materials: LED strip or puck lights, power supply, connectors, wire clips, drill, measuring tape.
Measure cabinet length. Choose plug-in or hardwired LED strips. Route wires neatly with clips. Attach lights under cabinets with adhesive or screws.
Smart LED lights, controllable by app or voice, are popular in 2025 trends.
Lighting expert Tom Evans advises clear wire runs and testing lights before final mounting.
Project 10: Swap Out Your Kitchen Faucet
A new faucet updates kitchen style and function. Pull-down spray options make cleaning simpler.
Materials: New faucet, adjustable and basin wrenches, plumber’s putty or sealant, bucket, towels.
Turn off water supply. Disconnect old faucet lines. Remove faucet and clean mount area. Position new faucet. Connect lines tightly. Turn water on slowly. Check for leaks.
Watch a step-by-step video for your specific faucet model before installing. Have towels ready to catch drips.
Clever Kitchen Hacks & Finishing Touches
Small changes add up. Try these quick ideas for even more space and style.
- Magnetic spice rack on fridge or wall frees cabinet space.
- Hooks inside cabinet doors keep mugs or towels handy.
- Simple drawer inserts organize utensils instantly.
- Swapping cabinet knobs updates look with little effort and cost.
- Painting an accent wall or cabinets brings fresh color without full remodel.
Study by HomeStyle 2025 shows such hacks improve kitchen usability and mood in under a day’s work.
Sustainability tops 2025 trends. Use reclaimed wood shelves or easy mounts for smart displays. Add small plants to bring life indoors.
Frequently Asked Questions About Small Kitchen DIY
What are the best DIY projects for a small kitchen?
Maximize storage using pull-out shelves and vertical organizers. Update countertops with paint or contact paper. Add lighting to brighten space. These give the most effect for the effort.
How much do small kitchen DIY projects cost?
Budgets range from $20 for drawer dividers to $150 for under-cabinet lighting. DIY projects stay far below professional remodel prices. Materials and tools mostly affect cost.
How can I add storage to a rented small kitchen?
Use non-permanent mounts like peel-and-stick backsplashes, magnetic strips, or pegboards with removable anchors. Over-the-door hooks and tension rods hold small items.
Are DIY countertops/backsplashes durable?
Durability depends on materials. Painted surfaces chip more than stone. Peel-and-stick backsplashes last for years if installed on smooth, dry walls. Proper sealing helps greatly.
What tools do I need for basic small kitchen DIY?
A measuring tape, drill or driver, level, screwdrivers, utility knife, safety glasses, and gloves form a solid basic toolkit.
Small kitchens do not need to feel tight or dull. Ten smart small kitchen DIY projects can stretch space, brighten rooms, and bring more joy to cooking. They improve storage, update surfaces, and add modern touches without high costs or complex work.
Try one project today. Start small, then keep improving. Share your new kitchen with friends and family. Enjoy cooking and gathering in your refreshed space. Loving a small kitchen feels good.
These small kitchen DIY projects bring big style and function to any home.