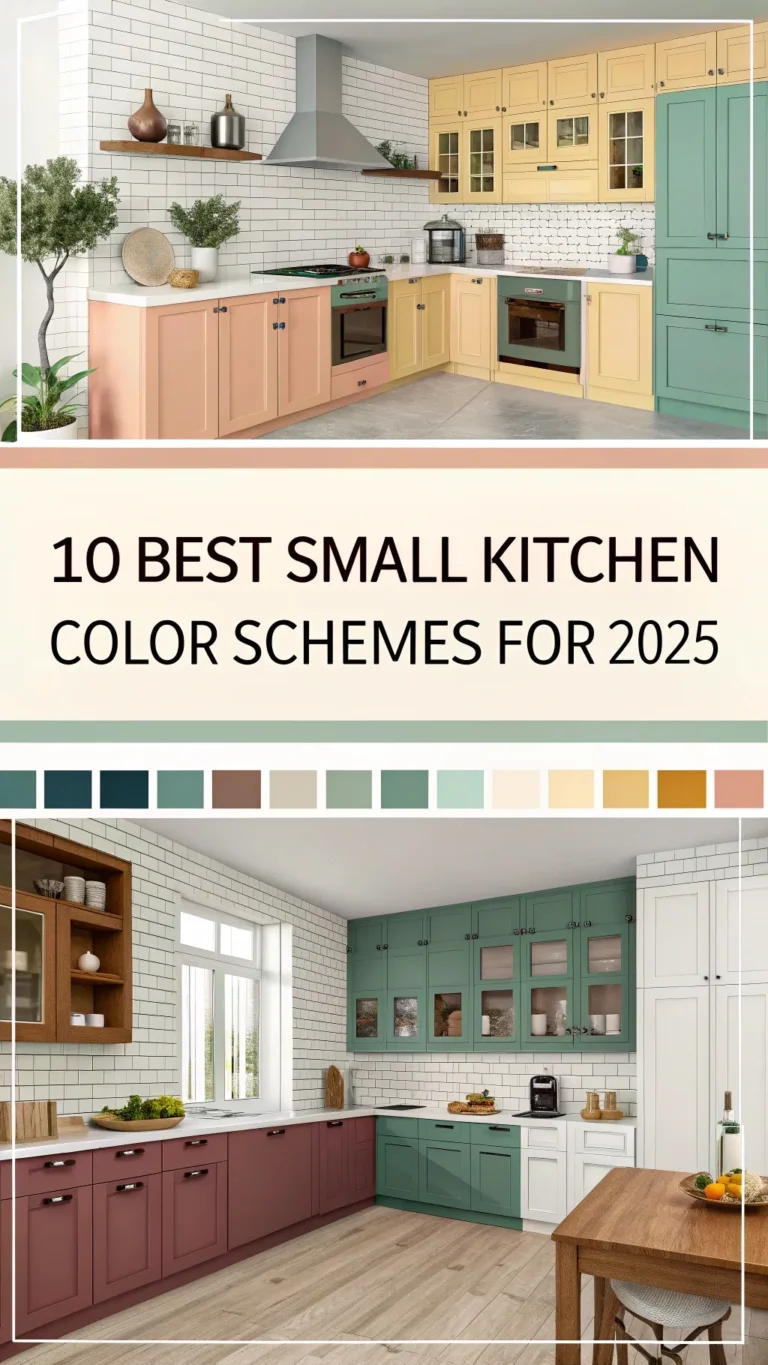
1. Introduction: Unlocking the Potential of Your Small Kitchen Walls
Small kitchens feel cramped. Counters overflow. Drawers bulge. Space feels tight. That’s a daily struggle many face. Walls often get overlooked in such spaces. Usually bare, empty walls hold untapped storage potential. Using wall space smartly can free counters and drawers instantly.
This article shares over ten small kitchen wall storage ideas. These tips help maximize kitchen space and bring order. Stylish and practical solutions fit any kitchen style. Ideas cover shelves, racks, hooks, and creative storage hacks. Some work well for renters or DIY enthusiasts too. You’ll find easy ways to organize while enhancing your kitchen’s look.
Experts say utilizing vertical space makes small kitchens feel larger. Studies show that kitchens with open shelving often boost user satisfaction by 25%. “Wall storage transforms kitchens from cluttered to calm,” says interior designer Lisa Monroe.
Read on to find small kitchen wall storage solutions that fit your needs. Let’s turn your walls into storage powerhouses.
2. Planning Your Small Kitchen Wall Storage: Assess, Declutter, Visualize
Why Wall Space is Your Small Kitchen’s Best Friend
Limited cabinet space can frustrate many. Walls help keep counters clear. Vertical storage saves room and adds style. You gain easy access to essentials. Visual interest also grows with well-chosen storage.
Step 1: Assess Your Needs and Inventory
Write down clutter culprits: pots, spices, mugs, or small appliances. Which items do you use daily? Which can store vertically? Knowing this guides your wall storage selections.
Step 2: Declutter Ruthlessly
Start fresh by removing unused items. Clutter slows organization. Follow our decluttering guide to get a neat slate [link].
Step 3: Map Your Walls and Identify Opportunities
Look above windows, doors, or near cabinets. Unused wall sections or back of pantry doors offer storage space. Measure awkward corners too. Mark wall studs and drywall areas for installation planning.
Step 4: Think About Weight and Accessibility
Heavy pots need solid support. Light items fit higher shelves. Keep frequently used items within reach. Safety comes first when hanging weighty things.
Checklist for Space Assessment:
- List clutter sources
- Identify wall spots for storage
- Locate studs for heavy items
- Plan height for ease of reach
Using these steps helps maximize kitchen space with confidence.
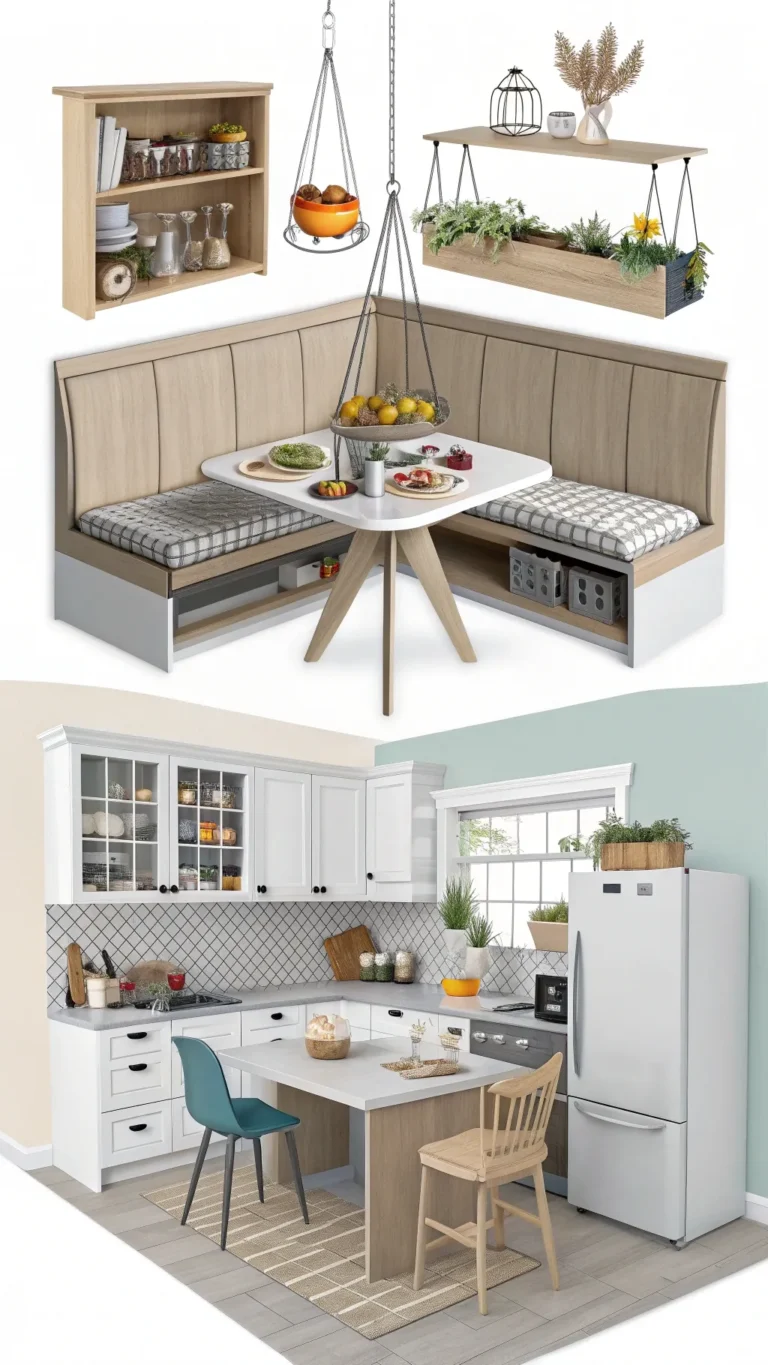
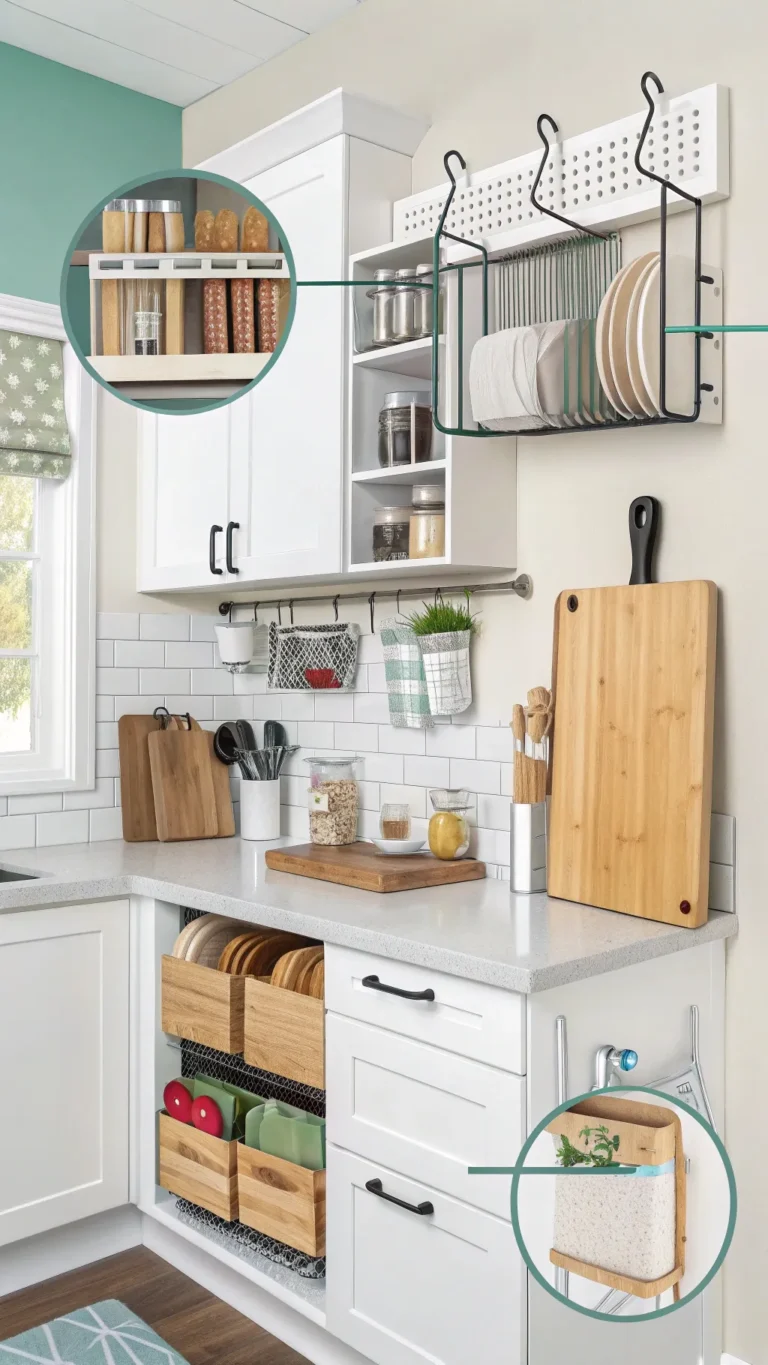
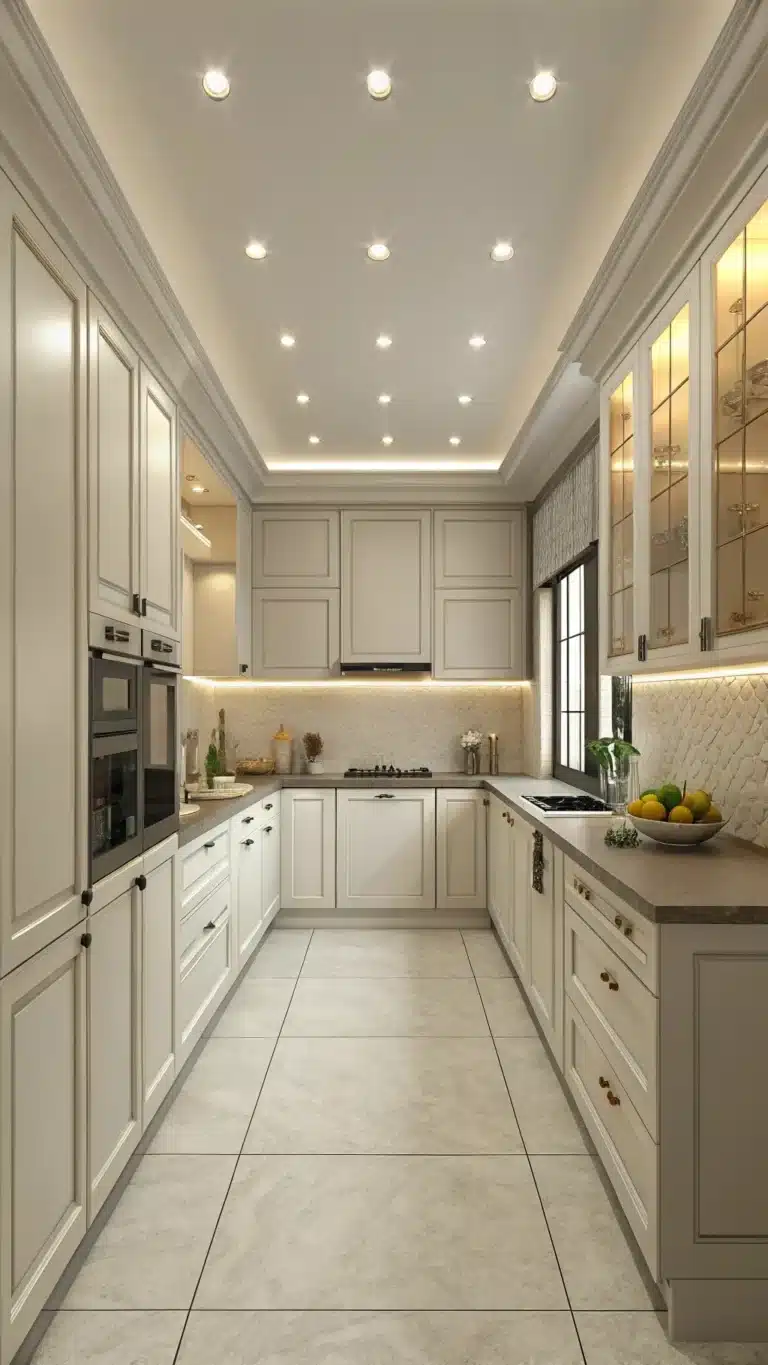
3. Shelving Solutions: The Go-To for Maximizing Vertical Space
Idea 1: Open Shelving – Style Meets Storage
Open shelves blend storage with visual appeal. They keep items handy and make kitchens appear larger. Wood, metal, glass, and wire are popular materials. Sustainable wood shelves remain trendy through 2025. Keep shelves tidy to avoid dust buildup.
Idea 2: Floating Shelves – Seamless Integration
Floating shelves look modern and save space. Mount them on studs for stability. Best for light or regularly used items like mugs or jars.
Idea 3: Picture Ledge Shelves – Narrow & Versatile
Slim ledges fit small spices or cookbooks without crowding counters. They suit tiny kitchens with limited wall space.
Idea 4: Corner Shelving – Utilizing Awkward Spots
Corners often go unused. Floating or bracketed corner shelves can hold decor, gadgets, or pantry items neatly.
Shelf Selection Tips:
- Choose depth based on item size
- Balance shelf style with kitchen design
- Use baskets or jars for neatness
Using shelving carefully opens many storage options.
4. Hooks, Racks, and Bars: Hanging Your Way to More Space
Idea 5: Wall-Mounted Pot Racks – Free Up Cabinet Space
Pot racks hang cookware within easy reach. Horizontal bars or grid systems add rustic charm. Secure installation across studs prevents accidents.
Idea 6: Magnetic Knife Strips – Safe & Space-Saving
Magnetic strips save drawer space and keep knives accessible. Place them out of children’s reach. Their sleek look fits modern kitchens perfectly.
Idea 7: Utensil Rods and Hooks – Everything Within Reach
Hang spatulas, whisks, and ladles on rods. Add small baskets for spoons or measuring cups. Keep tools visible and handy.
Idea 8: Mug Racks/Hooks – Display Your Collection
Mugs hang below shelves or on walls, freeing cabinets for plates. You can turn a coffee corner into a stylish display.
Idea 9: Hanging Fruit Baskets/Nets – Fresh & Accessible
Keep fruits off counters using hanging baskets. The natural texture adds warmth. It also protects produce from bruising.
Hanging Storage Tips:
- Match hook strength to item weight
- Place hooks near prep areas for convenience
- Mix hooks and racks for varied items
Hanging solutions maximize vertical kitchen space efficiently.
5. Beyond the Basics: Clever and Unexpected Wall Storage Hacks
Idea 10: Pegboards – The Ultimate Customizable Wall
Pegboards adapt to storage needs. Hang pots, pans, spice jars, or small shelves. Paint and personalize for your kitchen style. Great for DIY lovers.
Idea 11: Wall-Mounted Spice Racks/Organizers
Keep spices visible using tiered racks or magnetic boards. It speeds cooking and keeps counters clear.
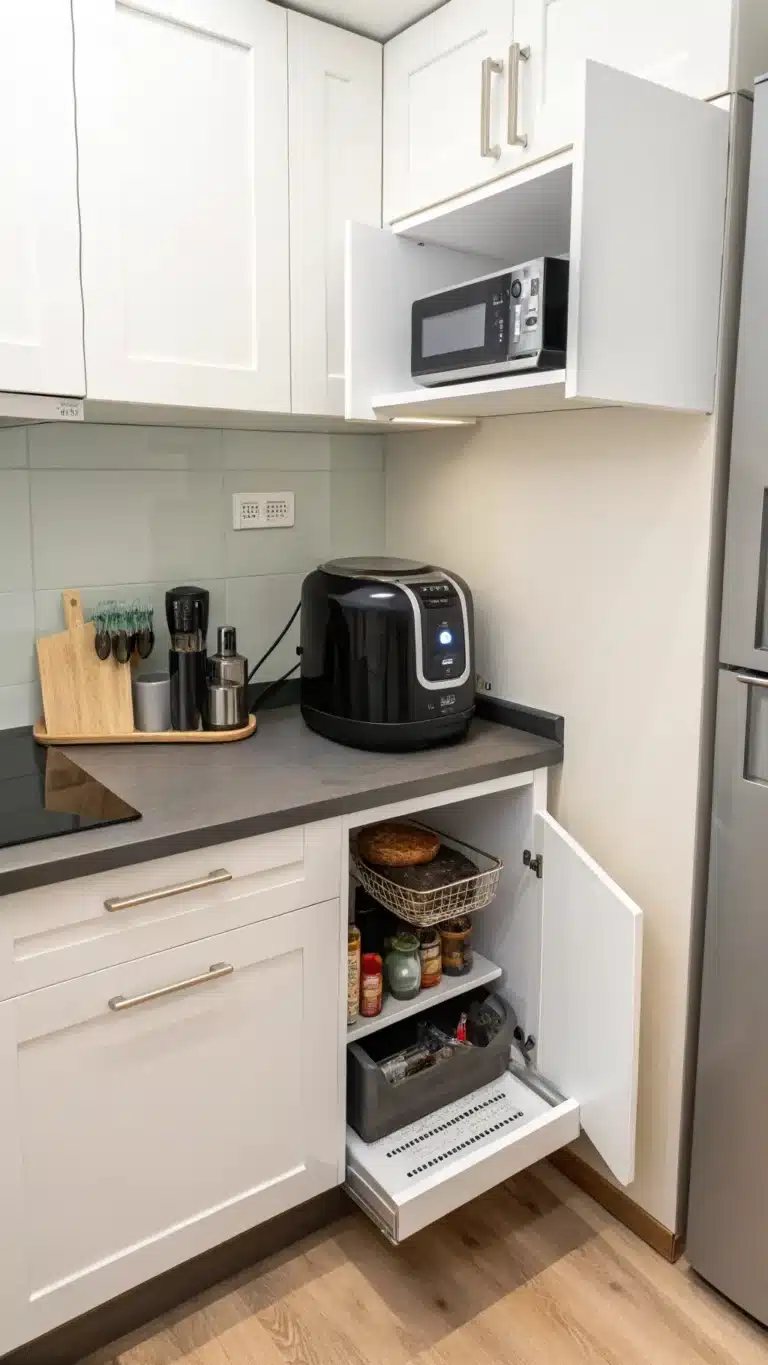
Idea 12: Wall-Mounted Paper Towel and Wrap Dispensers
Mount dispensers on walls to free drawer or counter space. Styles range from simple plastic to stainless steel.
Idea 13: Vertical Wine Racks
Store bottles securely and save space. Stylish racks add decoration and function.
Idea 14: Utilizing the Back of Doors
Use over-the-door organizers for wraps, bags, or cleaning supplies. This hidden wall space offers extra room without clutter.
Creative Storage Planning:
- Arrange pegboards for easy access
- Choose spice racks matching cooking frequency
- Use playful colors or textures to brighten walls
Creative hacks transform kitchen walls into versatile storage zones.
6. Wall Storage That Works for DIYers and Renters
DIY Projects: Building Your Own Wall Storage
Make shelves using wood planks and brackets. Assemble pegboards from DIY kits. Repurpose crates or wood pallets. Basic tools like drills, levels, and screws suffice. Such projects add personal charm.
Renter-Friendly Options: No-Damage Solutions
Heavy-duty adhesive hooks create storage without holes. Tension rods set between cabinets or walls offer hanging spots. Suction cup shelves attach to tiles temporarily. Use these solutions where permanent mounting isn’t allowed.
Where to Find Affordable Materials and Products
Stores like IKEA, Target, Home Depot, and Lowe’s offer budget options. Check local thrift stores and online marketplaces for second-hand finds.
DIY and Renter Tips:
- Follow adhesive hook instructions closely for best hold
- Find studs with a simple magnet or smartphone apps
- Balance style with temporary needs
Creative DIY and renter-friendly storage makes every kitchen functional, no matter the lease.
7. Making It Work: Selecting, Installing, and Styling Your Wall Storage
Factors to Consider When Choosing
Pick materials that withstand kitchen heat and moisture. Wood, metal, and plastic all work well. Match storage style to your kitchen vibe but keep practicality first. Budget wisely but don’t compromise durability. Choose surfaces that clean easily.
Basic Installation Principles
Know your wall type—drywall, plaster, tile, or brick. Use stud finders or tap tests to locate studs. Drywall anchors work for lighter loads. For tile, special drill bits and anchors are needed. Always use safety glasses and tools properly. Don’t hesitate to hire experts for tricky jobs.
Styling Your Wall Storage
Balance tools with decoration. Use uniform containers and jars for clean look. Group similar items by use or color. Add plants or art for charm. Place LED strips under shelves for light and ambiance.
Maintenance and Keeping It Organized
Dust shelves and hooks regularly. Reassess storage needs every few months. Adjust or remove unused items for a fresh look.
Installation Checklist:
- Measure and mark wall carefully
- Use level to ensure straight shelves
- Choose correct anchors or screws
- Wear protective gear
Good installation and styling enhance both function and beauty.
8. Frequently Asked Questions About Small Kitchen Wall Storage
How much weight can average wall shelves hold?
It depends on shelf type, wall material, and anchoring. Solid wood shelves anchored in studs can hold 30-50 pounds. Lightweight metal or glass shelves hold less. Always check manufacturer guidelines.
Are open shelves practical in a busy small kitchen?
Open shelves improve accessibility and visual openness. They require regular cleaning to avoid dust. Ideal for organized kitchens or those that prefer quick access.
What’s the best wall storage idea for spices?
Magnetic strips make spices visible and save space. Picture ledges hold small jars neatly. Dedicated tiered racks keep spices organized and easy to find.
Can I install wall storage if I have tile walls?
Yes, but use special drill bits designed for tile. Suction cup shelves offer a no-drill alternative. Adhesive hooks also work well on smooth tile.
How do I make my wall storage look organized, not cluttered?
Declutter first. Use matching containers and group similar items. Leave breathing space between items. Add decor elements to balance function and style.
9. Embrace Vertical Space: Your Path to a More Functional Small Kitchen
The right wall storage makes a big difference. From simple hooks to full shelving systems, options abound. These solutions reclaim countertops and drawers. They improve kitchen flow and bring order. Plus, stylish storage lifts the kitchen’s look.
Start small. Assess your clutter and try one or two ideas. Notice the extra space and easier cooking. Implementing these small kitchen wall storage ideas transforms your kitchen’s feel and function.
We’d love to hear your favorite wall storage tips. Share them in the comments below. Explore related articles on kitchen decluttering and organization. Let’s make small kitchens work better every day.
This detailed guide presents practical, renter-friendly, DIY, and stylish small kitchen wall storage ideas. It offers clear steps and useful tips suited for various lifestyles and budgets. Use these tips now and enjoy a cleaner, more spacious kitchen tomorrow.