I love cooking. My kitchen is my happy place. It’s where recipes come alive. But many home cooks dream of a perfect kitchen. Their current space feels old. It might have an inefficient layout. Outdated cabinets and counters cause frustration. Trying new techniques is hard. Hosting friends feels cramped. Transforming this space is possible. It often begins with one big step. That step is demolition. It sounds scary. It’s also exciting.
Knowing how much to demo a small kitchen is vital. It’s the first number to find. This crucial stage clears the way. It prepares your space for change. This guide helps you understand the cost. We break down the expenses. We connect this cost to your bigger goal. You want an inspiring culinary space. One designed for efficiency. A kitchen you truly love using. It’s part of your overall kitchen remodel cost. Think of it as clearing the canvas.
We will explore average demo prices. Learn what makes the price go up or down. We compare doing it yourself versus hiring help. We look at costs you might not expect. Most importantly, we see how demo prepares you. It sets the stage for planning. You can create an efficient kitchen layout. One that works for modern cooking. A space ready for new tools. Ready for better workflow. Ready for meal prep ease. Get ready to plan your kitchen upgrade journey.
Understanding the Baseline: Average Costs to Demo a Small Kitchen
Let’s talk money. Knowing how much to demo a small kitchen starts here. This first step clears your space. It gets you ready for something new. What does demo actually mean? It means taking things out. Old cabinets go away. Countertops disappear. Old flooring gets lifted. Light fixtures come down. Maybe even a non-load-bearing wall is removed. This makes room for your dream kitchen.
Typical costs can vary a lot. A basic small kitchen demo might cost $1,000. This is often for simple removals. A more complex job could reach $3,000 or more. It depends on many things. Where you live matters. What needs to be removed affects the price. Getting 3 to 5 quotes is smart. This gives you a good range.
The price breaks down into parts. Labor is a big cost. Workers need to be paid. Disposal fees add up fast. Old cabinets and counters are heavy. They need to go somewhere. Landfills charge by weight. This can be a surprising part of the kitchen demolition cost. Don’t forget this expense.
Location changes the price too. Demo costs are higher in big cities. Smaller towns might be cheaper. Always check local rates.
Here’s what demo usually includes. They take out the old stuff. This means cabinets and counters. Flooring often goes too. Old sinks and faucets are removed. Light fixtures are taken down safely. Non-load-bearing walls can come out. Ask your contractor for a list. Make sure you know what is covered.
Factors That Significantly Impact Your Demo Budget
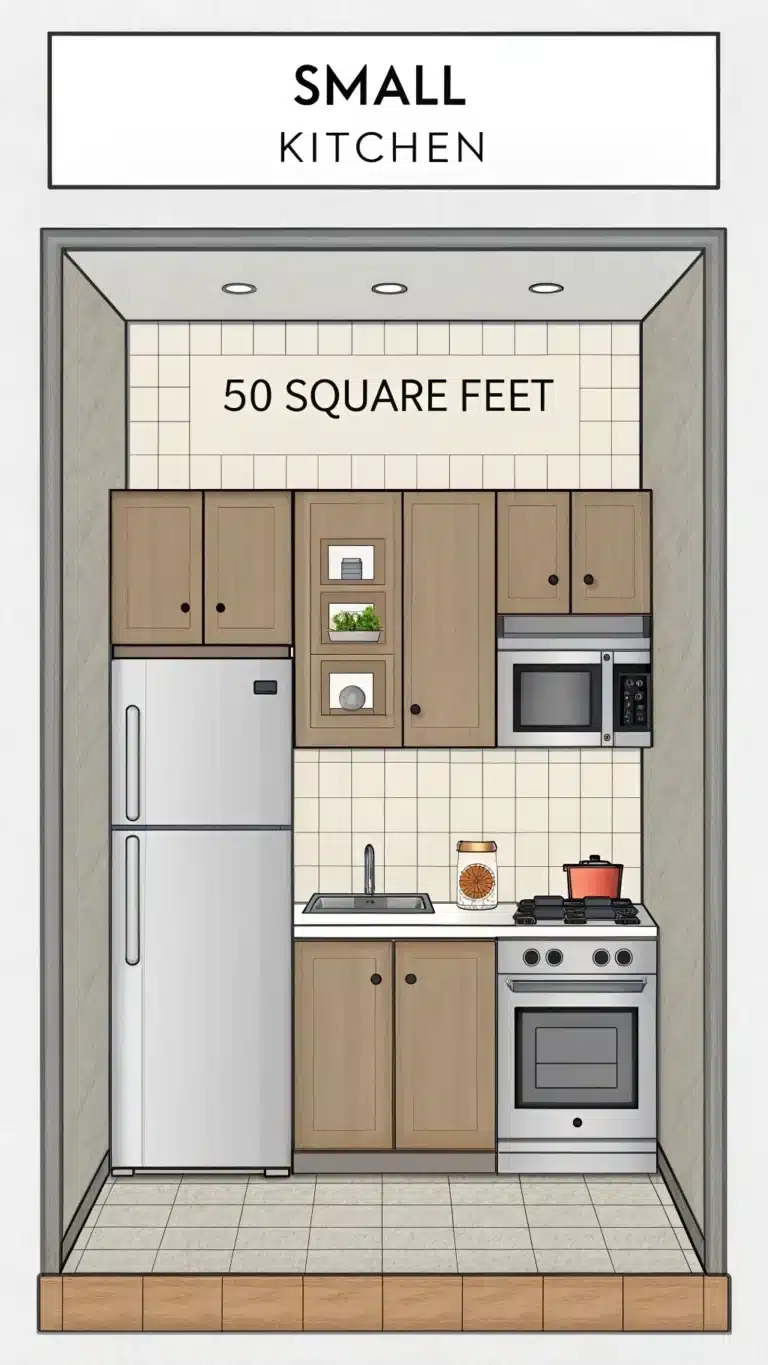
Many things change the price. Your kitchen’s size plays a role. Even a small kitchen varies. Is it a simple box shape? Or does it have tricky corners? An island adds complexity. Unusual layouts mean more work. This affects how much to demo a small kitchen.
Materials make a difference. Removing old tile flooring takes time. Vinyl is much faster. Plaster walls are harder than drywall. Solid stone counters are heavy. Laminate counters are easier. These materials affect labor time. They also affect disposal weight. Heavy stuff costs more to dump.
Structural changes cost more money. Removing a load-bearing wall is complex. It needs an engineer’s plan. Permits are required. This job is much more expensive. Taking out a non-load-bearing wall is simpler. It still adds to the price.
Plumbing and electrical need care. Lines must be shut off safely. They need capping or rerouting. This requires licensed pros. It adds specific costs. Don’t skip this safety step.
Waste disposal is key. You need a big dumpster. Weight limits apply. Special materials might cost more. Asbestos needs special handling. This is a significant kitchen demolition cost. Plan for this expense.
Permits are often necessary. Your city or town might need them. They ensure safety standards. Getting permits takes time. It also adds a fee. Check local rules early on. This avoids delays later.
DIY vs. Hiring Professionals: A Cost-Benefit Analysis
You might think about doing it yourself. A DIY kitchen demo can save money. You don’t pay for labor. This is the main saving. Removing simple cabinets seems easy. Taking up old vinyl flooring feels doable. This reduces your small kitchen renovation budget.
But DIY has hidden costs. It takes a lot of time. Do you have weekends free? You need tools. Renting or buying tools costs money. Safety is a big concern. Demo creates dust and sharp edges. Injuries can happen. What if you hit a pipe? Unexpected issues arise. These can cost more later.
Hiring a contractor costs more upfront. But you pay for expertise. They know the process. They work much faster. They have the right tools. They carry insurance. This protects you. They handle waste management. They often manage permits too. You pay for peace of mind. You hire kitchen demolition contractor for their skill.
Find the right person for the job. Ask contractors questions. Are they licensed and insured? Can they provide references? How will they handle disposal? Do they include permits? This helps you choose well.
When is DIY okay? Maybe for cosmetic changes only. Taking off cabinet doors is simple. Removing a backsplash can work. When is a pro needed? For structural changes, always hire help. For plumbing or electrical work, get a pro. For efficient waste removal, a contractor is best. They know exactly how much to demo a small kitchen safely.
Here is some essential safety gear. You need safety glasses. Wear heavy gloves. A dust mask is a must. Steel-toe boots protect your feet. A pry bar is helpful. A sledgehammer works for bigger jobs. Safety first always.
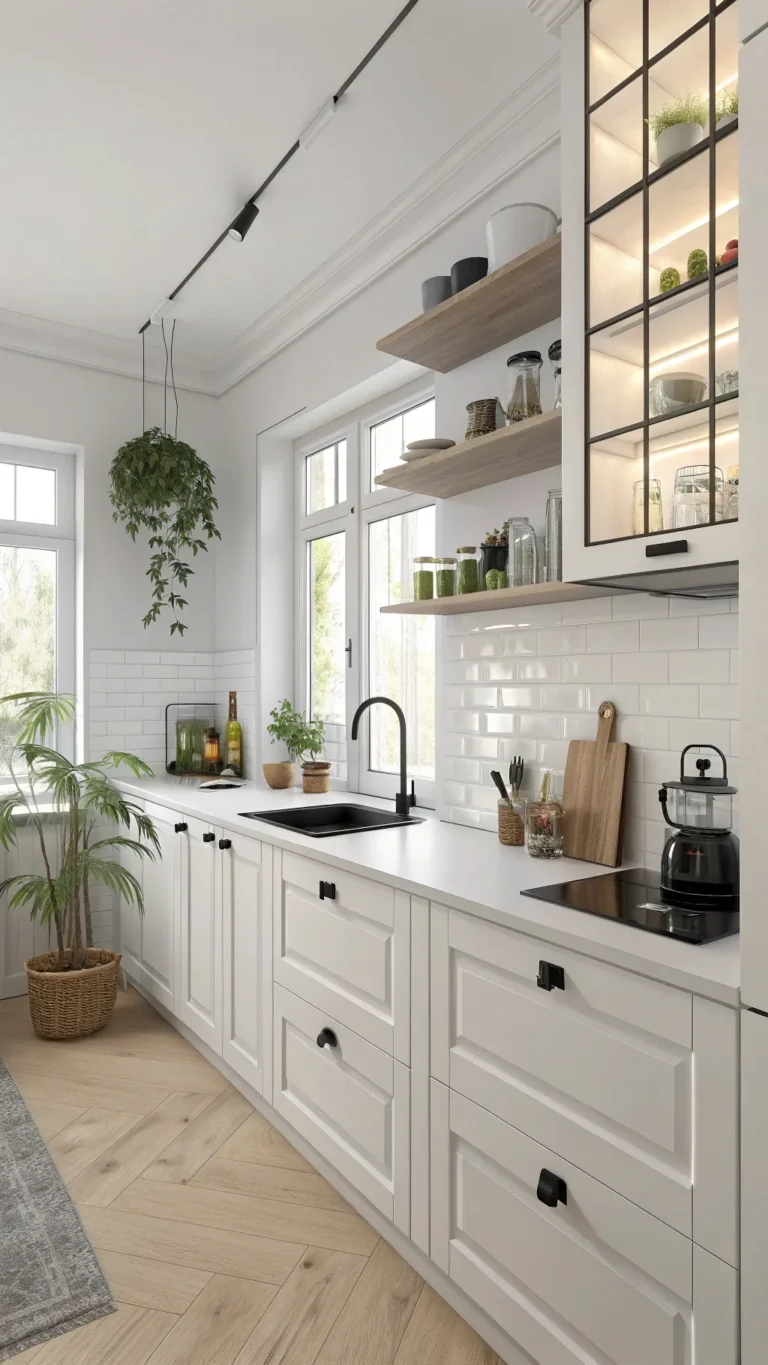
Beyond Demolition: Planning Your Post-Demo Kitchen for Culinary Excellence
The demo is done. Your kitchen is an empty box. Now the fun begins! This is where you plan your cooking haven. Think about how you cook. Where do you prep food? Where do you cook it? Where do you clean up? This is your workflow.
Plan a layout that works. Many cooks use the work triangle. Sink, stove, and fridge are key points. Make them easy to move between. Or think in zones. A prep zone needs counter space. The cooking zone is around the stove. The cleaning zone is by the sink. A good layout improves cooking efficiency. It makes meal prep space flow better.
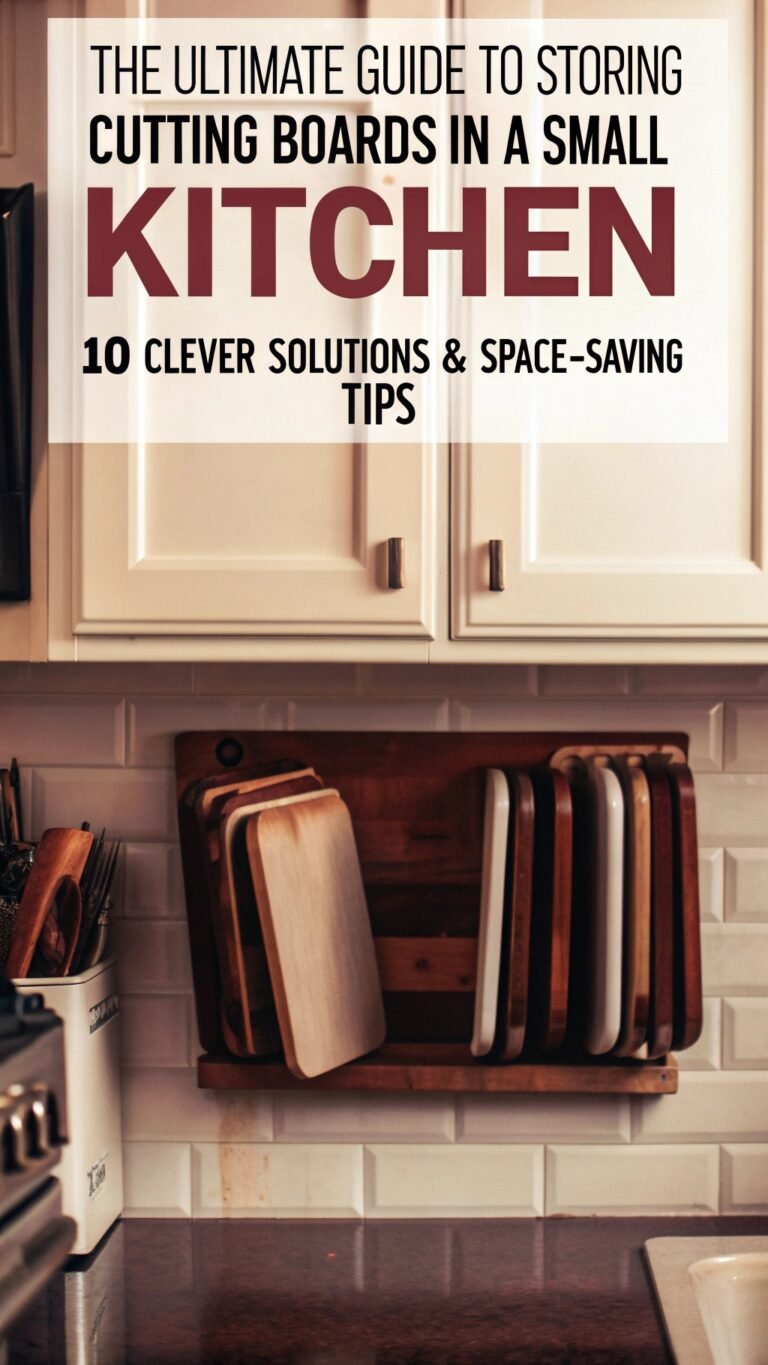
Design for smart use. You need enough counter space. Where will you chop veggies? Where will you set hot pans? Storage is crucial. Where do your pots go? Where do your spices live? Make things easy to reach. Good kitchen organization saves time. It reduces frustration.
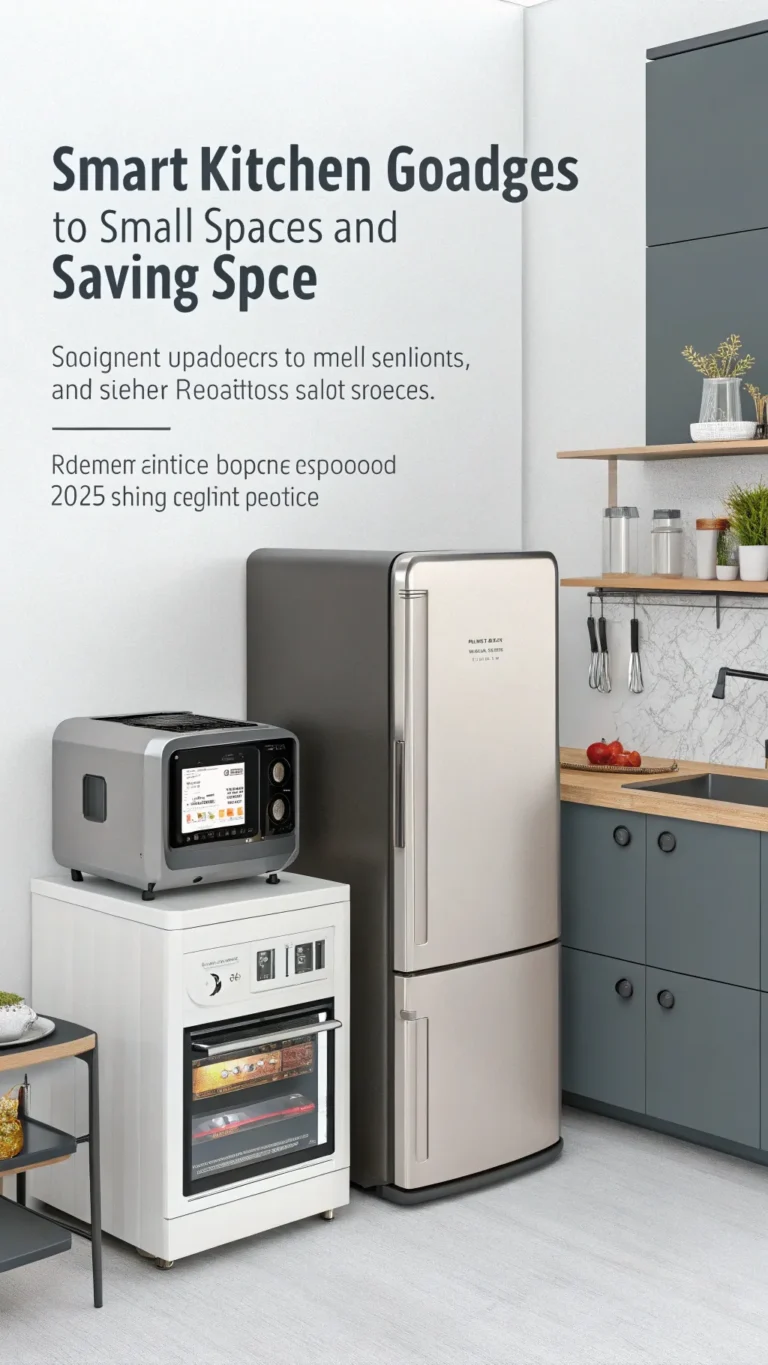
Think about modern ideas. Smart kitchen gadgets are popular. Plan space for them. Maybe a smart oven? Or an induction cooktop? Sustainable choices matter too. Can you add better recycling bins? Are materials eco-friendly? Sustainable kitchen design is good for the planet. It feels good too.
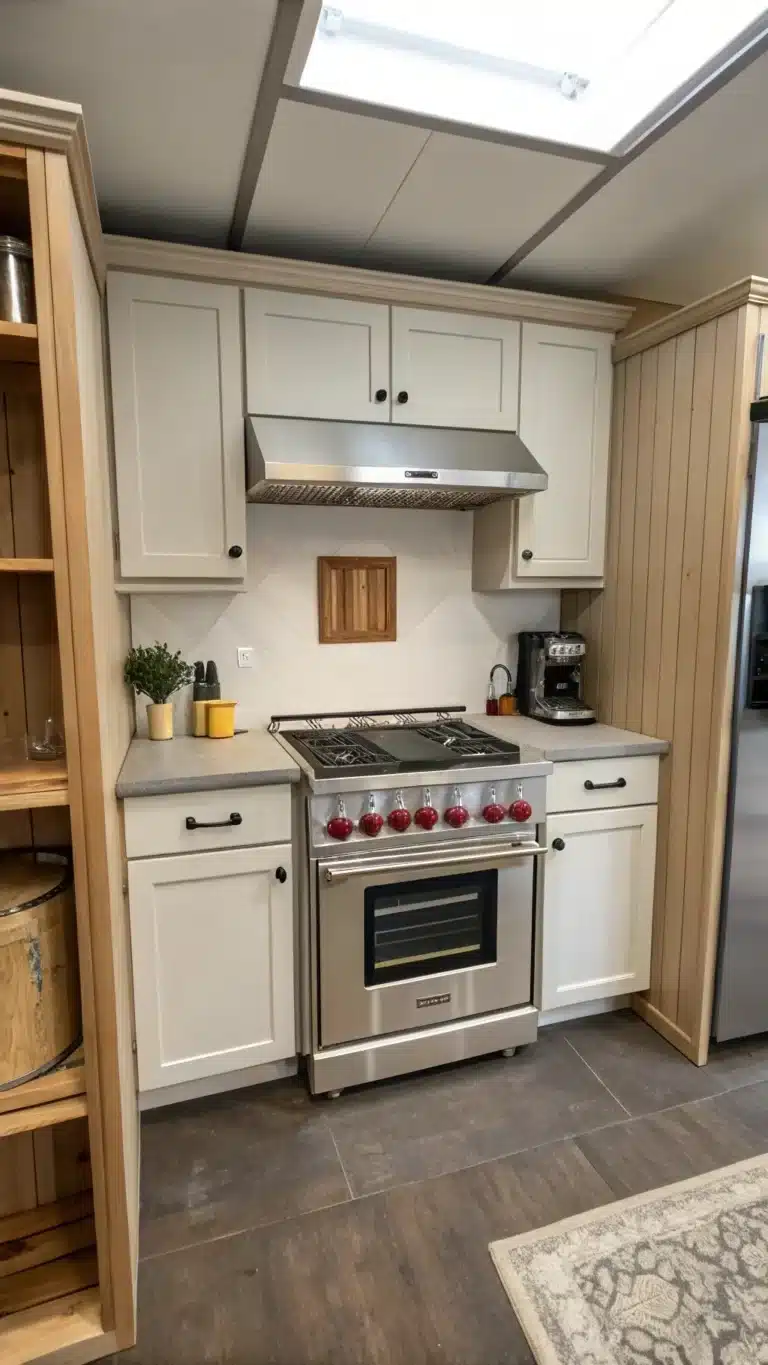
Choose materials carefully. Countertops get used hard. They need to be durable. Are they easy to clean? I love quartz for this. Flooring should handle spills. Backsplashes protect walls. Pick surfaces that make cooking easier.
Lighting is important. You need bright light for chopping. Task lighting over counters helps. Soft light for eating is nice. Plan layers of light. This makes your culinary space welcoming.
Draw your new layout. A simple sketch helps. Map out your zones. See where everything will go. Visit stores. Look at materials and gadgets. Imagine cooking in the new space.
Case Study: Transforming a Cramped Kitchen Through Smart Demolition & Design
Let me tell you about the Smiths. They love cooking together. Their old kitchen was tiny. It had a terrible layout. Meal prep was a struggle. Cooking felt like a chore. Hosting friends was cramped. They dreamed of a better space.
Their problem was common. Limited counter space was key. Old appliances were slow. Storage was a mess. Finding kitchen gadgets was hard. The layout killed their cooking efficiency. Trying new recipes felt too difficult.
They decided on a big change. A full renovation was the answer. First, they needed to understand costs. They researched how much to demo a small kitchen. This helped them set a budget. They knew they couldn’t do it all themselves. The old kitchen had tricky parts. They hired a professional contractor for the demo. The contractor handled the heavy lifting. They also managed waste removal efficiently.
After the demo, they planned the new space. They worked with a designer. The goal was better flow. They wanted more open space. The new layout improved the work triangle. It added lots of counter space. This created dedicated meal prep space. Storage solutions were added. Pull-out pantries helped. An appliance garage hid gadgets.
The demo finished on time. It stayed close to their budget. The new kitchen is amazing. The layout makes cooking easy. Their cooking efficiency improved greatly. More counter space means easier meal prep. Better storage means great kitchen organization. They easily find tools now.
The Smiths cook together often now. They try healthy recipes. Hosting is fun again. Their culinary space feels perfect. Understanding how much to demo a small kitchen was vital. Planning the new design paid off. Their kitchen upgrade benefits are huge. They love their new cooking life.
FAQs
You have questions about demo. Many people do. Let’s answer some common ones.
Is demoing everything always needed? Not always. Maybe you only need new counters. Maybe just cabinets. It depends on your plan.
How can I save money on demo? A DIY kitchen demo can save labor costs. Do simple parts yourself. Remove cabinets if you can. But know your limits. Proper planning helps too. Understanding how much to demo a small kitchen before starting is key.
What about water and power? Professionals handle this. They shut off plumbing safely. They cap electrical lines. Never try this yourself. It is very dangerous.
How long does demo take? A small kitchen demo is fast. It often takes 1 to 3 days. Complex jobs take longer. Structural changes add time.
After demo, what’s next? Plan your new layout carefully. Focus on efficient kitchen layout. Think about kitchen workflow. Where will you cook? Where will you store things? This step is crucial.
Always ask pros for advice. They know local rules. They ensure safety.
Conclusion
So, you see, knowing how much to demo a small kitchen is just the start. It’s the necessary first step. It clears the way for transformation. You turn an old space into a culinary hub. Budgeting for demo is important. Think about doing it yourself. Or hire a professional. Consider the costs carefully.
Demo prepares your kitchen. It gets it ready for a new design. Plan for better efficiency. Think about your cooking workflow. Imagine easier meal prep. A renovated kitchen has many benefits. It makes cooking more enjoyable. It creates a functional culinary space.
Start evaluating your kitchen. What holds you back? Research costs in your area. Begin dreaming of the possibilities. Take that first step. Plan your kitchen upgrade journey today.
FAQs
You have questions about demo. Many people do. Let’s answer some common ones. I hear these often.
Is demoing everything always needed? Not always. You might keep some parts. Maybe just change counters. Or keep the cabinets. It depends on your new plan. What do you want?
How can I save money on demo? A DIY kitchen demo saves labor cost. You can remove cabinets. Do simple tasks yourself. But know your limits. Hiring pros costs more money. They are fast though. They handle waste. This adds to kitchen demolition cost. Understanding how much to demo a small kitchen helps. Doing some work yourself cuts labor.
What about water and power lines? Always hire a pro. They shut off water safely. They cap electrical wires. This work is dangerous. I never do this part myself. Get licensed help.
How long does demo take? It is usually fast. A small kitchen takes 1 to 3 days. Bigger jobs need more time. Changing walls adds days.
After demo, what’s next? Plan your new space well. Think about how you cook. Focus on efficient kitchen layout. Where will you prep food? Where will you cook? This improves your kitchen workflow.
Always ask pros for advice. They know building rules. They ensure safety.
Conclusion
Knowing how much to demo a small kitchen is a key first step. It clears the way for something new. You get rid of the old space. Then you build a better one. This starts your kitchen upgrade journey.
Planning after demo is important. Think about how you cook. Design an efficient kitchen layout. Make space for meal prep. Improve your kitchen workflow. This makes cooking easier. It makes it more fun.
A renovated kitchen offers many kitchen upgrade benefits. It becomes a true culinary space. You have room to try recipes. You can use your favorite kitchen tools. Cooking feels less like a chore.
Think about your kitchen now. What needs to change? Research local demo costs. Start planning your dream space. Taking this first step is worth it. It leads to a kitchen you love.