Introduction
Everyone loves recycling, but small kitchens make it tricky. Bins take up too much space. Counters get cluttered, and it can smell if not handled right. Small kitchens face challenges with limited floor, cabinet, and counter space. Visual clutter often spoils the neat look of the kitchen. Many avoid recycling because it feels too hard to organize. This guide takes you through smart, space-saving ways to recycle in a small kitchen. It helps you create a neat, easy-to-use recycling spot that fits your kitchen’s size. You will find 10 proven ideas, tips for setup, composting tricks, and what to expect in 2025. By the end, small kitchen recycling will feel simple and natural. Let’s begin making your kitchen greener and tidier.
Why Small Kitchen Recycling Matters & Planning Your System
The Importance of Recycling (Beyond the Kitchen)
Recycling saves natural resources and reduces pollution. An EPA study reveals recycling cutting landfill waste by 30%. Communities benefit from better air and water quality. Local laws often require recycling to lower waste costs and keep neighborhoods clean. Recycling also inspires family and friends to care for the planet. It connects us to a larger effort to fight climate change and conserve energy. Installing a recycling system in your kitchen becomes a step toward these goals.
Unique Challenges of Small Kitchens
Small kitchens often have tiny floors, shallow cabinets, and little counter space. Open-concept layouts mean bins stand out more and clutter is more visible. Appliances can leave narrow gaps, or limited wall space reduces bin placement options. Multi-use furniture or kitchen carts may compete for room. Clear planning avoids chaos and prevents overflow. Measuring all spots carefully helps find the best spots. Use a tape measure, note cabinet depths, and mark spaces on paper. This simple step saves shopping mistakes and wasted money.
Assessing Your Waste Stream
Try a one to two-week waste audit. Collect trash and sort it by type daily. Count paper, plastic bottles, glass, metal cans, cardboard, and food scraps. Note which types build up fastest. The New York Times advises knowing your waste’s main parts helps pick the right bins. Focus your system on those few waste types. For example, if food scraps make up half the waste, concentrate on composting or food waste bins. Tracking waste prevents buying unnecessary containers.
Understanding Local Recycling Guidelines
Recycling rules vary greatly by city and county. Some accept single-stream recycling, mixing all types in one bin. Others require separation: paper, plastic, and metal go in different containers. Certain plastics, like bags or Styrofoam, may not collect curbside. Food waste collection may be separate or not allowed. Rinse items if your area demands it. Failure to comply can lead to fines or contaminated recycling loads. The EPA website helps find local rules fast. Check out EPA Recycling Basics for your area, or your city’s official recycling page.
Mapping Potential Recycling Zones in Your Small Kitchen
Good spots often hide in plain sight. Under the sink usually has space for pull-out bins or stacked setups. Cabinet doors can hold hanging bins or bags. Narrow gaps beside the fridge or stove fit slim bins. Walls above counters can take small mounted bins. Pantries or closets can store overflow recycling. Sometimes, placing bins just outside the kitchen, like in a mudroom, works well. A simple kitchen layout diagram helps visualize these spaces. Visualizing zones guides selecting bin sizes and types.
10 Space-Saving Recycling Solutions for Small Kitchens
The Solutions – Practical Ideas for Limited Space
Small kitchens need bins that fit tight spots, avoid clutter, and make recycling easy. The following ten solutions help do just that. Most highlight ease of installation, neatness, and handling common waste types. Let’s break down each:
Solution 1: Under-Sink Pull-Out Bins
Pull-out bins slide smoothly on tracks under the sink. They keep recycling hidden but easy to access. Great for separating plastics, paper, and organics. Saves floor and counter space by using usually empty under-sink area. Made of plastic or metal—choose sturdy, easy-to-clean models.
Pros: Hidden, multi-compartment, space saver
Cons: Installation may require tools, limited bucket size
Best for: All types, especially plastics and cans
Tip: Measure cabinet height and width before buying.
Solution 2: Vertical Stacking Bins
Stacking bins rise upward instead of outward. Often slim and use vertical space well. Fit narrow corners or beside appliances. Use color codes for different waste types. Look for bins with handles for easy removal.
Pros: Saves floor space, stack neatly
Cons: Taller bins may tip if unstable
Best for: Paper, plastic, glass
Tip: Secure top bins lightly with Velcro strips to prevent falls.
Solution 3: Door-Mounted Bins or Bags
Bins or bags hang inside cabinet doors. Ideal for light waste like plastic bags or food scraps. Keeps bins off floors and counters. Use wipes-resistant bags or water-tight plastic bins for organics.
Pros: Uses often wasted space, quick access
Cons: Limited size, needs strong door hinges
Best for: Food scraps, plastic bags
Tip: Check door strength to avoid sagging.
Solution 4: Slim, Freestanding Bins
Slim bins fit narrow gaps next to fridge or counters. Usually tall and narrow. Available with pedal lids for hands-free use. Versatile, can move anywhere.
Pros: No installation, flexible placement
Cons: Takes floor space, could obstruct walkways
Best for: Mixed recycling or compost
Tip: Choose bins with non-slip bases.
Solution 5: Wall-Mounted Systems
Mount bins directly on walls. Frees floor and counter space. Use robust hooks or rails. Ideal for lightweight recycling like paper and cans.
Pros: Very space efficient, keeps bins out of sight
Cons: Installation required, weight limits
Best for: Paper, light plastics
Tip: Use waterproof bins to avoid wall damage.
Solution 6: Compact Multi-Compartment Bins
Bigger than drawer inserts, these bins have multiple small sections. All-in-one solution for different recyclables. Fit on counters or in cabinets.
Pros: Keeps different wastes separate, organized
Cons: Takes counter space
Best for: Mixed recycling
Tip: Place near food prep area for convenience.
Solution 7: Countertop Compost Bins
Small bins for food scraps sit right on the kitchen counter. Some have charcoal filters to control odor. Containers range from ceramic to plastic.
Pros: Easy, immediate composting, great for food waste
Cons: Small capacity, needs daily emptying
Best for: Food waste recycling in small kitchens
Tip: Use liners for easy cleaning.
Solution 8: Drawer Inserts & Dividers
Use drawer space for recycling by installing inserts that separate waste types. Keeps bins concealed. Drawers must be deep enough.
Pros: Hidden, neat, easy to access
Cons: Requires drawer space and possibly modification
Best for: Paper, plastics
Tip: Measure drawer depth carefully.
Solution 9: Collapsible Bins (For Occasional Use)
Foldable bins store flat when unused. Great for temporary collection during cleanup days. Store in a drawer or pantry when empty.
Pros: Space-saving when not used
Cons: Less sturdy, not for heavy or wet waste
Best for: Bottles, cans at recycling events
Tip: Choose water-resistant materials.
Solution 10: Creative Repurposing & DIY
Use old baskets, boxes, or wooden crates as recycling containers. Paint or label for a personal touch. Customize size and partitions.
Pros: Eco-friendly, budget-friendly, unique
Cons: May lack tight seals or odor control
Best for: Dry recyclables
Tip: Line with plastic bags for easy cleanup.
Setting Up & Optimizing Your Small Kitchen Recycling Station
Choosing the Right Containers
Consider container material: plastic resists moisture, metal is durable, bamboo looks natural and eco-friendly. Match container shape with your space, like slim rectangles for gaps, square bins for drawers. Look for lids to prevent odors and handles for easy carrying. Cleaning ease matters. Many customers prefer removable liners. For product options, see our [Best Under Sink Recycling Bins Review].
Installation Tips (DIY Focus)
Install pull-out bins by following included guides. Use a screwdriver and measuring tape. For door-mounted bins or bags, use strong hooks or brackets. Secure freestanding bins with grips or mats to avoid slipping. Simple checklist: measure space, select container size, gather tools, fix mountings, test sliding or hanging, label bins clearly.
Clear Labeling is Key
Labels avoid confusion and contamination. Use large, clear fonts and durable materials like laminated paper or waterproof stickers. Color coding helps—blue for paper, green for compost, gray for garbage. Re-label if bins move or change contents.
Establishing a Workflow
Place bins near waste sources. Sort waste immediately while cooking or cleaning. Rinse recyclables lightly to prevent smell and pests. Use trays or mats under compost bins to catch spills. Regularly remind family or roommates to keep sorting habits.
Managing Odors and Pests
Rinse containers well and keep bin lids closed. Sprinkle baking soda at the bottom of compost bins. Replace charcoal filters monthly in countertop composts. Empty bins before they overflow, clean weekly with mild soap. Seal food waste in compostable liners.
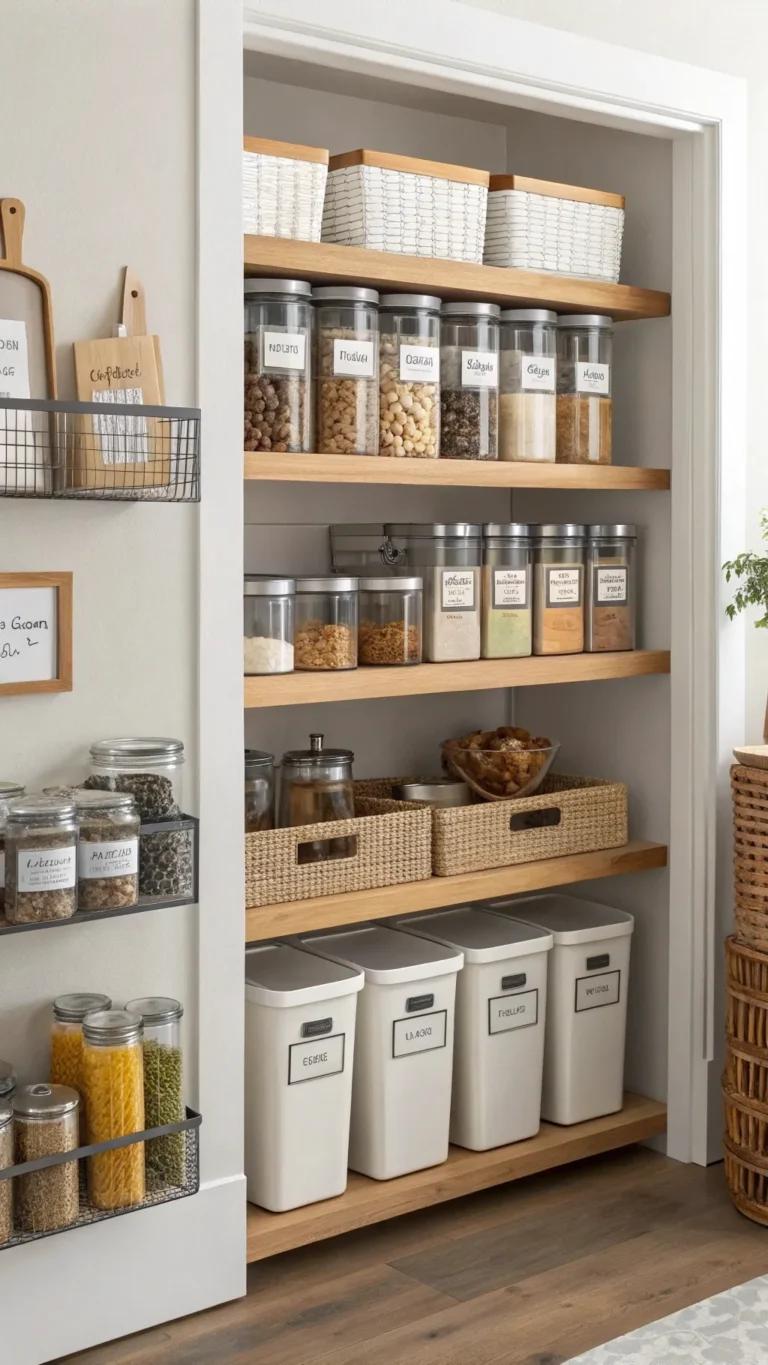
Integrating with Existing Small Kitchen Storage
Recycle along with other kitchen storage. Use vertical racks or hooks near pantry doors. Stack bins in lower cabinets to save counter space. Our [Ultimate Guide to Small Kitchen Storage Ideas] has tips to maximize every inch.
Beyond the Basics: Composting & Special Waste in Small Kitchens
Composting in Small Spaces
Contrary to myth, composting fits small homes. Countertop bins with charcoal filters hide smells. The freezer method holds scraps odorlessly before dropping off at community sites. For ambitious users, vermicompost worm bins are compact and tidy. Community composting programs offer drop-off or pickup services. Choose what fits your lifestyle best. For beginners, read [Beginner’s Guide to Home Composting Methods].
Handling Special Waste Items
Batteries, electronics, and light bulbs require special handling. Store these items safely in labeled sealed boxes, away from food and children. Use local recycling centers or hazardous waste events for drop-off. Plastic bags often require store returns.
The First Step: Reducing Waste
Recycle less by buying products with minimal packaging. Reuse containers and bags. Store food properly to extend freshness and reduce spoilage. Every small action lowers the burden on your recycling system.
Maintaining Your System & Future-Proofing for 2025
Routine Maintenance
Empty bins regularly—daily for food scraps, biweekly for plastics and paper. Clean bins with warm soapy water weekly. Inspect bins for cracks, broken lids, or rust. Keep a simple checklist pinned nearby, like: empty compost bin Monday, clean bins Friday.
Adapting Your System
Waste habits can change. Adjust bin sizes or locations as needed. If odors develop, check cleaning frequency or try new liners. Overflow calls for bigger bins or more frequent pickups. Stay updated on local recycling rules.
2025 Trends in Small Kitchen Recycling
Smart bins detect fullness and send notifications. Compactors reduce volume of recyclables. Bins made from recycled materials or bamboo gain popularity. Subscription services pick up compost or special recyclables at your door. New kitchen designs integrate recycling drawers or hidden compartments, fitting neatly with appliances. These trends aim to make recycling easier and more attractive for small kitchens. Find tools and gadgets in our [Smart Kitchen Gadgets for an Efficient Home].
FAQs
How do I start recycling in a really small kitchen with almost no space?
Start simple. Use a slim bin in a narrow gap or a bag hanging inside a cabinet door. Prioritize the waste you produce most, like bottles or cans. Empty bins often to avoid clutter and smell.
What are the best bins for under the sink in a small kitchen?
Pull-out bins fit well under sinks. Look for slim, durable models with easy cleaning features. Door-mounted options can add extra space. Measure your cabinet dimensions before buying.
How often should I empty my kitchen recycling bins?
Food waste bins empty daily or every other day to prevent odors. Dry recyclables like plastics or paper can last a week but avoid overflow.
Can I compost if I live in an apartment or small home?
Yes. Use countertop bins with charcoal filters, freeze scraps for pickup, or join community compost programs for drop-off.
How do I keep my recycling bins from smelling bad in a small kitchen?
Rinse containers before recycling. Keep lids closed. Sprinkle baking soda or use charcoal filters in compost bins. Clean bins weekly and empty often.
Conclusion
Small kitchen recycling does not have to be hard. Space-saving solutions like pull-out bins and wall-mounted systems make it easy. Planning your kitchen’s waste types and space helps find the best fit. Adding composting and handling special waste completes the system. Regular maintenance keeps your kitchen fresh and tidy. Every small step counts toward a greener planet. Start today by trying one or two solutions from this guide. Share your own tips or storage ideas with us. Together, small kitchens can make a big difference in 2025 and beyond.
Explore linked articles and local resources for products and detailed instructions. Your small kitchen can lead the way in recycling smartly and stylishly.