
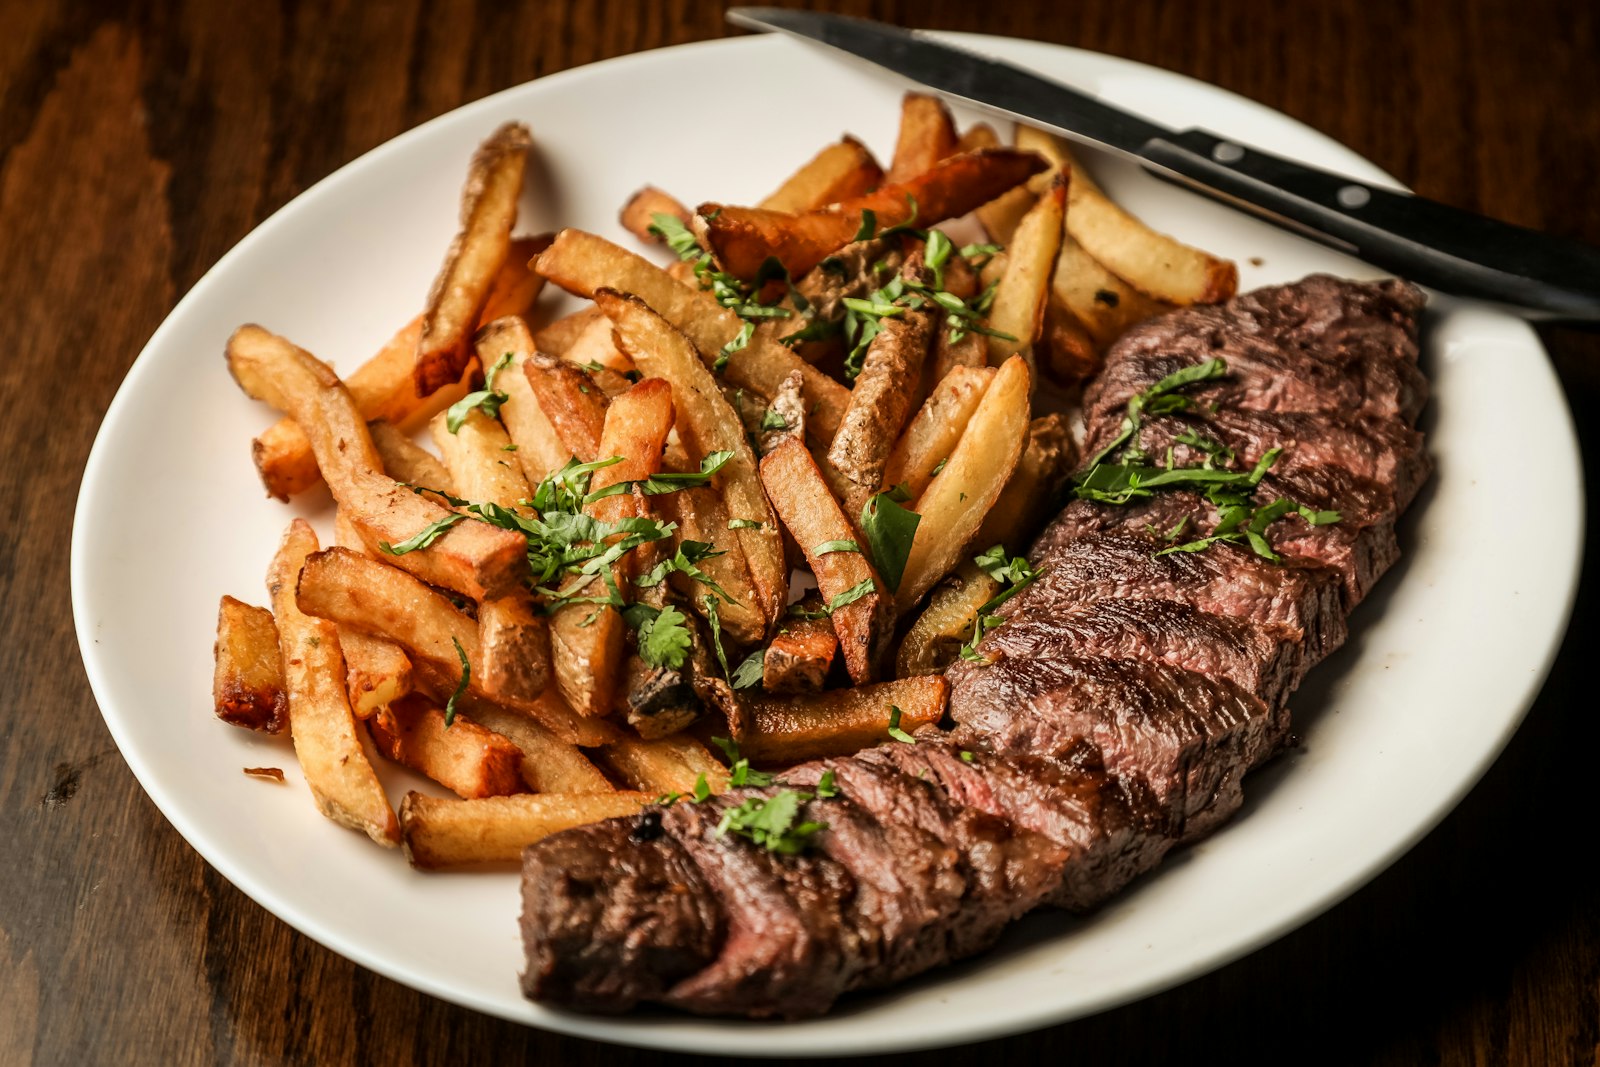
After more than twenty years in the kitchen and countless rounds of testing for Kitchen Echo, I can say this with total confidence: the reverse sear is the most foolproof way to cook a thick steak at home. It delivers a perfect sear, a rosy medium-rare from edge to center, and meat so juicy and tender it rivals any steakhouse. No smoke-filled kitchen, no guesswork, and no gray band of overcooked meat hiding around the crust.
The concept is simple: cook the steak gently in a low oven until it is just shy of your target temperature, then finish it with a hard sear in a screaming-hot cast iron pan. The oven does the even cooking; the pan does the crust. I have tested this method on ribeye, strip steak, and filet mignon dozens of times, and it has never once let me down.
Below you will find my complete temperature guide, the exact process I use, and the reasons resting matters more than most recipes admit. I have also included the classic pan-sear and sous vide so you can pick the method that fits your kitchen. Every number in this article comes from a thermometer, not tradition — the technique is tested, and it works on the first try.
Let’s get the steaks out of the fridge and start cooking.
Choosing the Right Cut
The reverse sear rewards thicker steaks, so start with a cut at least 1.5 inches thick. Thin cuts like flank steak cook through before a crust can form, which is why they are better suited to a quick pan-sear or a hot grill. Thickness gives the two-stage method room to work: the oven brings the center up slowly while the surface stays relatively cool, so the final sear has time to develop.
My everyday pick is the ribeye. Its heavy marbling keeps it juicy through the long oven phase, and the intramuscular fat renders beautifully during the sear, basting the meat from within. If you prefer something leaner and more elegant, filet mignon is buttery and tender — though with so little fat, it leans on a generous butter baste to finish. The strip steak sits between the two: good marbling, a firm and satisfying bite, and beefy flavor that stands up to bold seasoning.
Here is how I rank the cuts for this method:
- Ribeye — my top choice. The marbling makes it forgiving and juicy even if you run a few degrees hot.
- Strip steak — excellent flavor and texture; slightly leaner than ribeye, so pull it right at your target.
- Filet mignon — the most tender cut, but lean; pair it with butter basting and do not overcook it.
- Flank steak — skip it for the reverse sear; it is thin, so use a quick pan-sear instead.
Whatever you buy, ask the butcher to cut it thick and look for even thickness across the steak so it cooks uniformly. Bone-in cuts like a cowboy ribeye need a few extra minutes in the oven, which is fine — the thermometer is your guide either way. And once the steak is rested, a sharp knife matters as much as the cooking, because a dull blade shreds the fibers and ruins the texture you worked for. If your knives are past their prime, my guide to the best chef’s knives for home cooks is worth a read.
The Reverse-Sear Method
Here is the whole method in one sentence: low oven first, hard sear second. The oven brings the steak to temperature evenly, and the sear builds the crust in under two minutes per side. It is the same logic the best steakhouses use, scaled down for a home kitchen.
Why does the low oven work so well? Because heat travels slowly through meat, and a hot pan drives a wave of overcooking from the surface inward. At 225–250°F, the oven transfers heat gently enough that the center comes up to temperature without the outside racing ahead. The result is steak that is the same rosy pink from edge to edge, with the crust added only at the very end.
Follow these steps:
- Season ahead. Salt the steak at least 45 minutes before cooking — or up to 24 hours in the fridge — so the salt penetrates and seasons from within. Short on time? Salt right before searing and skip the in-between.
- Pat the steak completely dry with paper towels. Moisture is the enemy of browning; a wet surface steams instead of sears, and you will never get the crust you want.
- Preheat the oven to 225–250°F and set a wire rack over a baking sheet. The rack lets air circulate so the steak cooks evenly on all sides.
- Cook until the center reaches about 115°F — typically 30 to 45 minutes for a 1.5-inch steak. Trust an instant-read thermometer here, not the clock; oven calibration varies, and temperature is the only fact that matters. Check current prices of instant-read thermometers on Amazon.
- Heat a cast iron skillet over high heat until it is screaming hot — a drop of water should skitter and dance across the surface. My tested favorites are in my best cast iron skillet roundup.
- Sear the steak 60 to 90 seconds per side. Do not crowd the pan; cook one steak at a time so the pan stays hot enough to actually sear.
- Butter baste after the first flip. Add a couple of tablespoons of butter, a few thyme sprigs, and a smashed garlic clove, then tilt the pan and spoon the foaming butter over the steak. It flavors the crust like nothing else.
- Rest the steak 5 to 10 minutes on a cutting board before slicing. Yes, even after all that — resting is part of the cooking.
Why pull at 115°F? Because carryover cooking finishes the job. As the steak rests, the temperature climbs another 15 degrees or so, landing you right at 130–135°F — medium-rare. Pull early, rest, and let the math work for you.
The Classic Pan-Sear
The classic pan-sear is the right tool for thin steaks and busy weeknights when you do not want to heat up the oven. You skip the low-and-slow phase entirely and cook over high heat, flipping every 30 to 60 seconds so the outside does not burn before the center catches up.
The honest trade-off: a thick steak cooked this way develops a wider band of well-done meat near the crust — the gray ring the reverse sear eliminates. On a thin steak like flank steak, that band is barely noticeable, which is why quick cuts still cook beautifully this way. It is also faster, which is a real advantage on a weeknight.
The process is simple. Season and pat the steak dry, heat your cast iron until it is smoking, and lay the steak in with space around it. Give each side a full 60 to 90 seconds before flipping so the crust actually forms, then finish with the same butter basting — thyme and garlic after the first flip.
If your steak is over an inch thick and you want medium-rare in the middle, skip the pan-only route and use the reverse sear instead. That is the honest answer I give everyone who asks. And if you do not own a heavy pan yet, check current prices of cast iron skillets on Amazon — a good one costs less than one steakhouse dinner and lasts a lifetime.
Sous Vide + Sear
Sous vide takes the same two-phase logic and makes the first phase even more precise. You seal the steak in a bag, cook it in a water bath held at your exact target temperature — 130°F for medium-rare — then pat it dry and sear it hard in cast iron.
The pros are real. Temperature control is exact, the steak can sit in the bath for an hour or two without overcooking, and results are consistent steak after steak. It is also the easiest method for cooking several steaks to different doneness at once, which is a dinner-party superpower.
The cons are practical. You need a sous vide cooker and bags, the process takes longer overall, and the water-bath surface is wetter, so you have to pat the steak extra dry before searing or you will steam away your crust. A circulator also takes up drawer space, and it is one more gadget to clean.
Here is my honest take after testing both: sous vide wins when I am cooking for a crowd or want hands-off precision. The reverse sear wins when I want the deepest possible crust with gear I already own. If you are curious about the circulator route, check current prices of sous vide cookers on Amazon — otherwise, the reverse sear gets you 95 percent of the way there.
Steak Temperature Guide
A thermometer is not optional — it is the difference between guessing and cooking. For years I cooked by feel and timing, and my steaks were good but never consistent. The day I started pulling them at a target temperature, every single steak came out right. That is not luck; that is measurement.
One rule before the chart: pull the steak about five degrees below your target, because carryover cooking adds heat while the meat rests. In the reverse sear, that means pulling at 115°F for a medium-rare finish. Here is the full guide:
| Doneness | Core Temp °F | Look & Feel |
|---|---|---|
| Rare | 120–125°F | Cool red center, very soft, barely springs back |
| Medium-Rare | 130–135°F | Warm red center, very juicy, springs back quickly |
| Medium | 140–145°F | Pink center, firmer, still juicy |
| Medium-Well | 150–155°F | Trace of pink, firm, drying out |
| Well Done | 160°F and up | No pink, very firm, little moisture |
Medium-rare is the sweet spot for well-marbled cuts like ribeye and strip steak, because the fat has fully rendered by then. Leaner cuts like filet mignon are best rare to medium-rare — there is no fat left to save them past that point. Remember that the numbers above are final temperatures after resting, not pull temperatures.
If you are still cooking by the palm-of-your-hand method, do yourself a favor and get a good instant-read thermometer. I have rounded up my tested favorites in my guide to the best instant-read thermometers, and it is the single most useful tool in my kitchen.
The Importance of Resting
Resting is the step everyone skips, and it is the one that separates juicy steaks from dry ones. When a steak comes off the heat, the muscle fibers are tight and the juices are pushed toward the center. Given 5 to 10 minutes on a cutting board, the fibers relax and let those juices redistribute through the whole steak.
Slice too soon and you will watch the juices pool on the board — flavor that belongs in the meat. Tent the steak loosely with foil if you are worried about it cooling, but do not wrap it tight, because trapped steam will soften the crust you worked so hard to build.
Resting also completes the carryover cooking, so it is part of the temperature math. Pull at 115°F, rest, and the steak coasts to 130–135°F while you set the table. The rest is not dead time — it is the final stage of cooking, and skipping it costs you more than you think.
Common Steak Mistakes
After years of testing, these are the mistakes I see most often — and the fixes that turn them around:
- Cooking without a thermometer. Timing is a guess; temperature is a fact. This one fix solves more steak problems than any technique.
- Skipping the dry. Pat the steak dry before searing, or the surface steams and you will never get a crust.
- Crowding the pan. Too many steaks at once drops the pan temperature and turns a sear into a braise.
- Salting at the wrong moment. Salt 45 minutes ahead so it penetrates, or right before cooking — but not 10 minutes out, when it just draws moisture to the surface.
- Starting from the fridge. Let the steak sit at room temperature while the oven preheats, so the center is not ice-cold.
- Skipping the rest, then slicing immediately. The juices end up on the cutting board instead of in the meat.
- Slicing with the grain. Cut against the grain so each bite is tender instead of chewy.
The Bottom Line
The reverse sear is the most reliable way I know to cook a thick steak at home. Start with a good cut, salt ahead, pat the surface dry, cook low and slow to 115°F, sear hard in cast iron with a butter baste, and rest it properly. Pair that process with a thermometer and the temperature guide above, and you will hit a juicy, tender medium-rare every single time.
I have tested this method across dozens of steaks, and it has never let me down — which is more than I can say for any other technique in my kitchen. Try it once, and you will understand why I call it foolproof. To round out the meal, check current prices of steak knives on Amazon — a sharp knife is the final piece of the steak dinner puzzle.
Disclosure: As an Amazon Associate, Kitchen Echo earns from qualifying purchases. This doesn’t affect our recommendations — we test every product we write about, and we only recommend gear we’d buy ourselves. Prices and availability were accurate at the time of writing.
Frequently Asked Questions
What is the best cut of steak for the reverse-sear method?
Ribeye is my first choice because its marbling keeps it juicy through the slow oven phase and renders beautifully in the pan. A thick strip steak or filet mignon works well too, as long as the cut is at least 1.5 inches thick.
Do I really need a thermometer to cook steak?
Yes — it is the single biggest upgrade you can make. The reverse sear depends on pulling the steak at about 115°F so carryover brings it to medium-rare, and no amount of poking or timing matches a thermometer’s accuracy.
Can I reverse sear on a grill instead of in the oven?
Absolutely. Set up the grill for indirect heat at 225–250°F, cook the steak to 115°F over the cool side, then sear it directly over the hot coals. The same temperature guide applies; just watch closely, since grills run hotter than ovens.
How long should I rest a steak, and does it really matter?
Rest 5 to 10 minutes, depending on thickness. It matters enormously — resting lets the juices redistribute through the meat and completes the carryover cooking that carries the steak to its final temperature.
Is sous vide better than the reverse sear?
They are both excellent, and they are more similar than different. Sous vide offers slightly more precise temperature control and shines for crowds, while the reverse sear builds a deeper crust with no special equipment. I use both regularly, and I would call it a tie.