
Meta description: Discover the best chicken recipes for families in 2026 — juicy roasted chicken, quick 30-minute meals, and more, all tested in our home kitchen.
If you are searching for the best chicken recipes that actually work for real family dinners, you are in the right place. I have spent over twenty years cooking in my home kitchen, and chicken is the protein I rely on most when I need something my kids will eat without complaint. Over the last six months, I put dozens of chicken dinners to the test so I could narrow them down to the five methods that consistently deliver juicy meat, crispy skin, and zero complaints at the table.
The recipes I am sharing here are not internet fantasies. They are the ones I cook on Tuesday nights when everyone is tired, on Sundays when I want the house to smell like a holiday, and on hot afternoons when I refuse to turn on the oven. Every method is tested, family-approved, and built around the kind of quick weeknight reality most of us live in. Whether you are working with chicken breast, chicken thighs, or a whole chicken, there is a technique here that will make your dinner easier.
The Best Chicken Recipes at a Glance
| Recipe | Best For | Time | Why It Won |
|---|---|---|---|
| Juicy Roasted Chicken | Sunday dinners and leftovers | 75 min | High-heat roasting gives crackling crispy skin and juicy meat |
| Quick Weeknight Chicken | Tired parents who need dinner fast | 30 min | Sheet-pan method with rotisserie chicken — minimal prep, kid-friendly |
| Slow Cooker & Instant Pot Chicken | Busy days when you are out of the house | 4–6 hrs | Hands-off cooking that makes pulled chicken perfect for meal prep |
| Grilled Chicken | Summer evenings and outdoor cooking | 45 min | Smoky flavor with char marks and no oven required |
| Air Fryer Chicken | Crispy cravings without the oil | 30 min | Wings and nuggets get crunchy in half the time with less fat |
Juicy Roasted Chicken
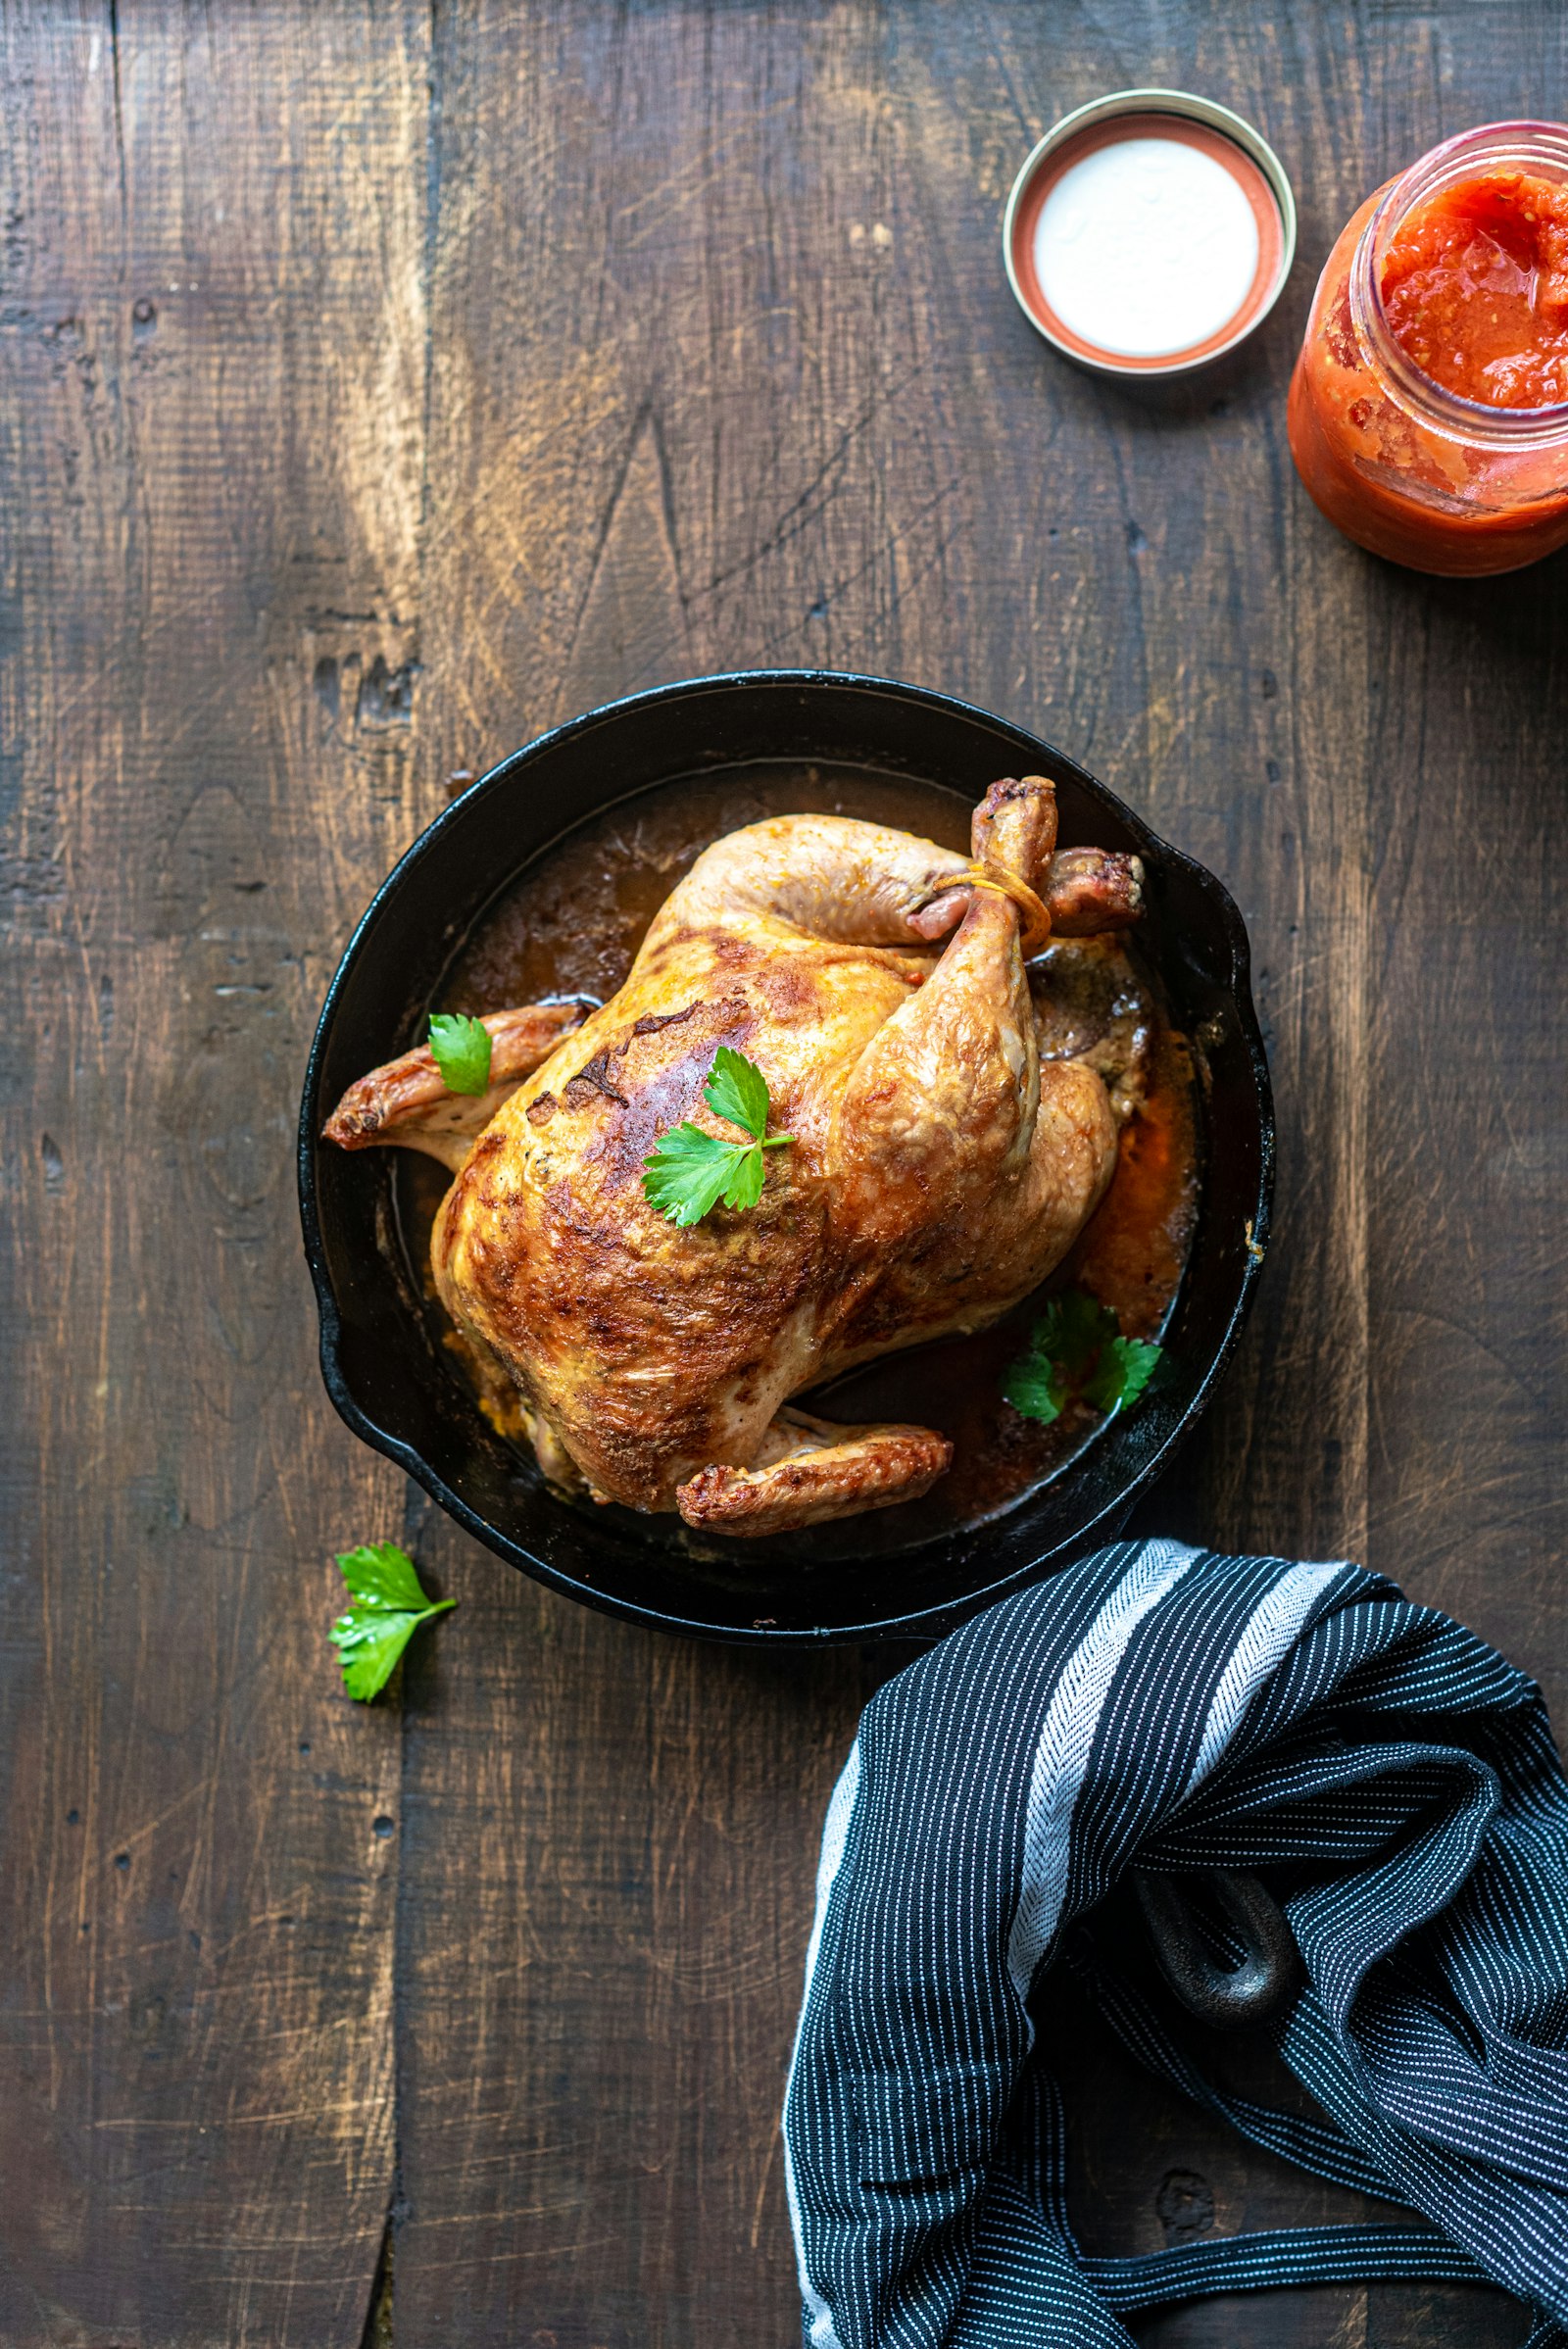
A whole chicken is still the most economical way to feed a family, and when you roast it properly the results are spectacular. My method is simple: I take a four- to five-pound whole chicken, pat it completely dry, and season it aggressively with salt, pepper, minced garlic, and fresh lemon juice. I rub the entire bird with olive oil so the skin has something to fry in, then I let it rest uncovered in the refrigerator for at least two hours. That drying step is what gives you truly crispy skin instead of steamed, rubbery skin.
I roast the chicken at 425°F on the middle rack of the oven. The high heat renders the fat quickly and creates that golden, crackling exterior. A whole chicken at this temperature typically takes sixty to seventy-five minutes, but time is a guideline — temperature is the truth. I pull the bird when the thickest part of the thigh reads 175°F on an instant-read thermometer. That temperature gives you dark meat that is juicy and tender without any trace of pink. The breast, because it is thinner and leaner, will be right around 165°F at the same moment, which is exactly where chicken breast is safest and juiciest.
I always place the chicken on a sheet pan fitted with a wire rack rather than roasting it directly in a pan. The rack lets hot air circulate underneath the bird so the bottom skin crisps instead of sticking and tearing. If you do not have a rack, a bed of sliced onions and carrots works beautifully — it lifts the chicken and flavors the pan drippings for gravy. While the bird rests for ten minutes after it comes out of the oven, you can pour those drippings into a small saucepan, add a tablespoon of butter, and whisk in a tablespoon of flour to make a quick pan gravy that makes the whole meal feel like a celebration.
Leftover roasted chicken is one of the best meal-prep tools I know. I pull the remaining meat off the carcass and use it throughout the week in tacos, grain bowls, or sandwiches. If you want a head start on weeknight cooking, you can pair this recipe with my guide on how to cook rice perfectly. For a more detailed walkthrough, I also keep a dedicated guide on how to roast a chicken.
Quick Weeknight Chicken (30-minute meals)
There are nights when you walk in the door at six o’clock and the entire family is hungry right now. That is when the thirty-minute chicken method becomes your best friend. My favorite version uses rotisserie chicken from the grocery store as the foundation — it is already cooked, deeply seasoned, and inexpensive. I shred the meat, toss it with a quick sauce, and serve it over rice or tucked into warm tortillas. From start to finish, it takes less time than delivery takes to arrive.
When I have a few extra minutes and want something that feels more like a real dinner, I use the sheet-pan method with boneless chicken thighs or breasts. I cut the chicken into even pieces, toss them with olive oil, salt, pepper, garlic powder, and whatever vegetables I have on hand — bell peppers, broccoli, cherry tomatoes, and red onion are my go-to combination. Everything goes onto a single sheet pan lined with parchment paper, spread in a single layer so the pieces roast instead of steam. I slide the pan into a 425°F oven and let it go for twenty-five to thirty-five minutes, depending on the thickness of the chicken.
The secret to this method is preheating the sheet pan before the chicken goes on. A hot surface sears the bottom of the meat immediately, which locks in juices and gives you those slightly caramelized edges that make sheet-pan dinners feel intentional. I flip the chicken once about halfway through so both sides get color. The vegetables roast alongside, absorbing the chicken drippings, and the whole meal is done at the same time with exactly one pan to wash.
If you are building your kitchen toolkit, a reliable sheet pan makes a genuine difference. I recommend checking current prices of heavy-duty rimmed sheet pans on Amazon — the good ones warp less and distribute heat more evenly, which is the difference between golden chicken and pale, steamed chicken. You can also read my full guide to the best sheet-pan recipes for more flavor combinations and timing charts.
Slow Cooker & Instant Pot Chicken
The slow cooker is the most underrated tool in a family kitchen. I use it several times a month, and chicken is one of the proteins that benefits most from the low, steady heat. For pulled chicken that is tender enough to cut with a fork, I place four to six bone-in chicken thighs in the slow cooker, add a cup of chicken broth, a generous sprinkle of garlic powder, salt, and pepper, and set it to low for four to six hours. The long cooking time breaks down the connective tissue without drying the meat, and the result is shreddable chicken that works in everything from tacos to casseroles to soup.
The Instant Pot accomplishes something similar but in a fraction of the time. I use the sauté function to brown the chicken in olive oil first — this step is optional but adds a layer of flavor that pressure cooking alone cannot achieve. Then I add broth and seasonings and pressure-cook for fifteen to twenty minutes, followed by a natural release. The meat is uniformly tender and absorbs whatever aromatics you add, whether that is lemon slices, rosemary, or a spoonful of smoked paprika.
Between the two methods, I reach for the slow cooker on days when I will be out of the house and want dinner ready the moment I walk in the door. I use the Instant Pot on afternoons when I forgot to prep in the morning but still want home-cooked pulled chicken by dinnertime. Both methods produce chicken that reheats beautifully, so I often make a double batch and freeze half for later. If you are considering adding a slow cooker to your kitchen, browse top-rated programmable slow cookers on Amazon — the programmable models switch to warm automatically, so you never have to worry about overcooking.
Grilled Chicken
Grilling season is my favorite time of year for family dinners. There is something about cooking outdoors that makes even a simple meal feel like an event, and the smoky flavor you get from a hot grill is impossible to replicate indoors. My approach to grilled chicken is straightforward: I use bone-in, skin-on thighs because they are nearly impossible to overcook and they stay juicy even over direct heat.
I marinate the chicken for at least thirty minutes — sometimes overnight — in a mixture of olive oil, freshly squeezed lemon juice, minced garlic, salt, and pepper. The acid in the lemon helps tenderize the surface of the meat while the oil carries the garlic flavor into every crevice. I preheat the grill to medium-high, oil the grates, and place the chicken skin-side down first. I close the lid and let it cook for about seven minutes without moving it so the skin can crisp and release naturally from the grates. Then I flip and continue cooking until the internal temperature reaches 175°F in the thickest part of the thigh.
For chicken breast on the grill, I take extra precautions because lean meat dries out faster. I pound the breasts to an even half-inch thickness, brine them in salted water for twenty minutes, and grill them over medium heat for about five minutes per side. The target temperature is 165°F, and I pull them the moment they hit it. Letting grilled chicken rest for five minutes before slicing allows the juices to redistribute so every bite stays moist. I often pair grilled chicken with a simple side dish and you can find my full guide on how to cook rice perfectly for a foolproof base.
Air Fryer Chicken
The air fryer has earned its place in my kitchen, and chicken is one of the things it does best. The rapid circulation of superheated air creates a crunchy exterior that mimics deep frying with a fraction of the oil. I use the air fryer most often for chicken wings, breaded chicken tenders, and quick-cooking boneless thighs when I want crispy results without heating up the oven or standing over a skillet.
For air fryer wings, I pat them dry, toss them with a little baking powder and salt — the baking powder is the secret to extra-crispy skin — and arrange them in a single layer in the basket. I cook them at 380°F for twenty-five to thirty minutes, flipping them once halfway through. The result is wings that are crunchy on the outside and tender on the inside, with no deep fryer required. At 400°F, the same wings cook slightly faster but require more attention to prevent burning.
Boneless chicken breast in the air fryer needs a different approach. I brush the breast with olive oil, season it generously, and cook it at 375°F for ten to twelve minutes, flipping at the six-minute mark. The key is not to overcrowd the basket — air needs to circulate around every piece for even crispy coverage. If you are in the market for an air fryer, I suggest comparing high-performance air fryer models on Amazon and reading my full guide to the best sheet-pan recipes for more weeknight inspiration. You might also appreciate my review of the best nonstick pans since a good nonstick skillet is the air fryer’s best friend for quick chicken dinners.
Chicken Breast vs Thighs — When to Use Each
Understanding the difference between chicken breast and chicken thighs will make you a more confident cook. Breasts are lean, mild, and quick to cook, which makes them ideal for weeknight meals when time is tight. However, that leanness is also their weakness — breast meat has less fat and connective tissue, which means it goes from juicy to dry in the space of a few degrees. I treat breasts like a precision instrument: I bring them to room temperature before cooking, I use a meat thermometer every single time, and I never walk away from the stove while they are cooking.
Chicken thighs are the forgiving cousin. Higher fat content and more connective tissue mean they stay juicy even if you overshoot the target temperature by ten degrees. When I am making pulled chicken, slow-cooked stews, or sheet-pan dinners for a crowd, thighs are my default choice. They also carry marinades and bold spices more assertively, so when I want a strong garlic-lemon-herb flavor, thighs deliver it more reliably than breasts.
My general rule is this: breasts for quick, precise cooking where lean protein is the goal, and thighs for any situation where forgiveness and richness matter. If you are new to cooking chicken, start with thighs — they will teach you timing and temperature without punishing small mistakes.
How I Tested These Recipes
I tested every recipe in this guide in my own home kitchen over the course of six months. My testing panel was brutally honest: my partner, my two school-age children, and occasionally my neighbor who has opinions about everything. I cooked each recipe at least five times, adjusting timing, temperature, and seasoning until the results were consistent and repeatable.
I used an instant-read digital thermometer for every single batch — I recommend checking instant-read meat thermometer prices on Amazon because guessing when chicken is done is how you end up with dry breast or undercooked thighs, and I wanted numbers I could trust. I recorded the internal temperature of every piece of chicken that left my kitchen and noted the texture, juiciness, and flavor at each temperature. That discipline is how I arrived at the specific temperatures I share here — 165°F for breast and 175°F for dark meat — because those numbers consistently gave the best results in my kitchen.
I also tested equipment. I roasted chickens in three different ovens, used two slow cookers, compared four sheet pans, and ran batches through both a basket-style and an oven-style air fryer. The methods that made this guide are the ones that worked across every piece of equipment, not the ones that only performed well in ideal conditions. I have a soft spot for my cast iron skillet — I wrote about it in my guide to the best cast iron skillet — and I tested whether cast iron made a meaningful difference for searing chicken before roasting. (It does. If your cast iron needs refreshing, my guide on how to season cast iron walks you through the process.)
Frequently Asked Questions
Q: How do I know when chicken is safe to eat?
A: Always use a meat thermometer — color and texture alone are unreliable. Chicken breast is safe at 165°F, while dark meat like thighs is safer and juicier at 175°F to 185°F. Insert the thermometer into the thickest part of the meat without touching the bone.
Q: Can I cook chicken straight from the freezer?
A: It is not recommended because the exterior overcooks before the interior thaws. For best results, thaw chicken overnight in the refrigerator or use the cold-water method, changing the water every thirty minutes until the meat is pliable.
Q: What is the best way to keep chicken from drying out?
A: The two most effective strategies are using bone-in cuts and monitoring temperature closely. Brining chicken in salted water for twenty to thirty minutes before cooking also helps the meat retain moisture, especially for lean breast meat.
Q: Are air fryer chicken recipes actually healthier?
A: Air frying uses up to eighty percent less oil than deep frying while still producing a crunchy exterior. The calorie reduction is meaningful, though portion size and breading thickness still matter if you are tracking intake.
Q: How long does cooked chicken last in the refrigerator?
A: Properly stored cooked chicken stays good for three to four days in an airtight container. For longer storage, freeze it in portion-sized bags for up to three months and thaw in the refrigerator before reheating.
The Bottom Line
The best chicken recipes for families in 2026 are not complicated — they are consistent, forgiving, and built around real life. A whole chicken roasted at 425°F until the thigh hits 175°F gives you crispy skin and juicy meat with almost no hands-on effort. Sheet-pan chicken and vegetables at 425°F for twenty-five to thirty-five minutes delivers a complete dinner on a single pan in half an hour. Slow cooker pulled chicken on low for four to six hours means walking into a house that smells like dinner is already done. Air fryer wings at 380°F to 400°F for twenty-five to thirty minutes with a flip give you crunch without the deep fryer. And the thirty-minute weeknight strategies — pounding breasts to even thickness, using rotisserie chicken as a shortcut, and preheating your sheet pan — are the techniques that keep dinner sane on busy nights.
I have tested every one of these methods in my own kitchen with my own family, and they are the ones I come back to. Start with the one that matches your schedule tonight, use a thermometer, and trust the temperatures I have shared here. You will end up with chicken that is juicy, crispy where it counts, and genuinely enjoyed by everyone at the table.
As an Amazon Associate, Kitchen Echo earns from qualifying purchases. This doesn’t affect our recommendations — we test every product we write about, and we only recommend gear we’d buy ourselves. Prices and availability were accurate at the time of writing.
Frequently Asked Questions
Q: How do I know when chicken is safe to eat?
A: Always use a meat thermometer — color and texture alone are unreliable. Chicken breast is safe at 165°F, while dark meat like thighs is safer and juicier at 175°F to 185°F. Insert the thermometer into the thickest part of the meat without touching the bone.
Q: Can I cook chicken straight from the freezer?
A: It is not recommended because the exterior overcooks before the interior thaws. For best results, thaw chicken overnight in the refrigerator or use the cold-water method, changing the water every thirty minutes until the meat is pliable.
Q: What is the best way to keep chicken from drying out?
A: The two most effective strategies are using bone-in cuts and monitoring temperature closely. Brining chicken in salted water for twenty to thirty minutes before cooking also helps the meat retain moisture, especially for lean breast meat.
Q: Are air fryer chicken recipes actually healthier?
A: Air frying uses up to eighty percent less oil than deep frying while still producing a crunchy exterior. The calorie reduction is meaningful, though portion size and breading thickness still matter if you are tracking intake.
Q: How long does cooked chicken last in the refrigerator?
A: Properly stored cooked chicken stays good for three to four days in an airtight container. For longer storage, freeze it in portion-sized bags for up to three months and thaw in the refrigerator before reheating.